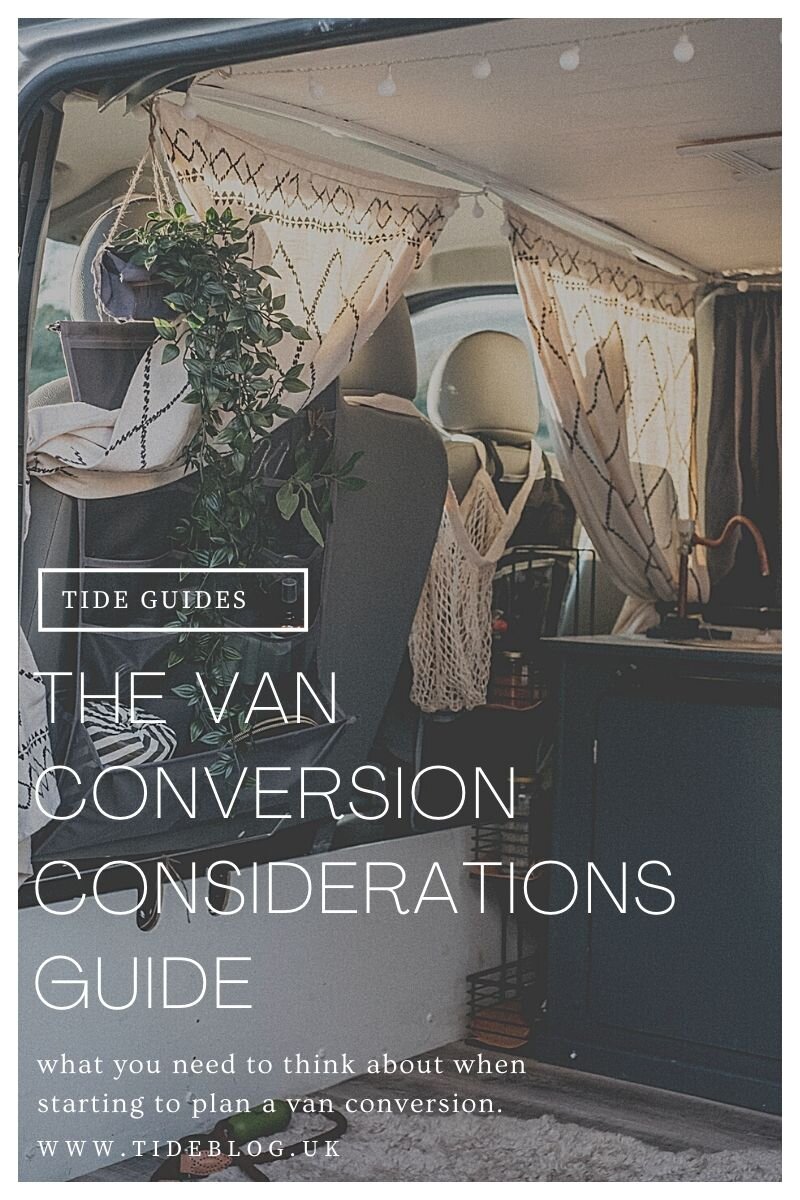
The Van Conversion Consideration Guide
What you need to consider when converting a van.
Deciding I was going to do a conversion myself was down to some research, considering my needs and taste and pure gut instinct. Then Vivs appeared in my Ebay search and I knew she was the one so I found the funds, went to see her, put the deposit down and then thought ‘well, what now?’.
I couldn't stop thinking about the conversion - every evening I went down rabbit holes of watching YouTube videos, reading articles and pinning images on Pinterest. I have adult ADHD which means I can really get fixated on things and wowsers, did I get fixated. That said, I’m not really a planner, I just like to get stuck in and figure things out as I do it.
What I did do is make decisions on how each element of my conversion was going to require and what my needs were so I’m here sharing all this with you! As with everything in van conversions there are different considerations for different folks and there are lots of different ways to do things but the following is what I learned based on my needs as an occasional off grid van lifer who aims to go away a few weeks at a time and not want to rely on campsites.
I haven’t listed all my individual products as that’s going to come in another post. This post is about the information you need to make a decision on your van specifics.
As ever, a huge thanks to all at Epic Accessories for their help with my conversion who also arranged all the electrics and some exterior modifications. And thanks also to Nic Roams for being such an essential resource while I converted my van - for a list of affordable products for a conversion and a budget planner Nic’s e-book is the one.
Electrics
The type of electrics you end up with in your van will determine how you can live in your van, what appliances you can use and whether you can be ‘off grid’ (essentially away from an electrical hookup like you would find on a campsite). For what I need which is basic power to charge tech I went for a split charge system alongside a solar panel set up that inserts power into a leisure battery. So what does this mean? Well, it’s important to know that to have power in a van you need to have a second battery (seperate to the battery that lives in the bonnet or elsewhere that powers your van) that lives in your living area which is termed a ‘leisure battery’.
The battery
A leisure battery is different to your starter battery (the battery that lives under your bonnet to power your vehicle). They mainly come in two forms - a sealed lead acid battery or an AGM battery that is typically what is termed a deep cycle battery. The latter is better for longevity and being off grid but comes at a price.
A split charge system:
This is an arrangement of wires and devices that is attached to your vehicle battery. As you probably know, as you drive the power generated by your fuel also charges your battery. When a split charge system is installed and connected to your leisure battery your vehicle/engine will start to charge your leisure battery only when your vehicle battery is fully charged but if you are doing some driving every day you should be able to charge your leisure battery sufficiently for some appliance power. Of course how much you need depends on your power needs - if you’re just charging some tech it should be fine but if you have a fridge, heater and other more demanding power uses then it might be tricky living off just this.
Solar panels:
Solar panel(s) can be installed onto the roof of your van and hooked up to your leisure battery so the battery is charged in daylight. Obviously it does depend on the strength of the sun on how much you can charge your battery up but I’ve found my solar panels do a great job even on overcast days. You can choose to have both a solar panel system as well as a split charge system which I went for. How much solar do you need? Well, if you’re on a split charge too one 100w solar panel should cover you for basic power but I went for two (adds up to 200w) to cover all bases.
A hook up:
You can get a socket installed into the side of your van that has specific plugs wired to it (that you will only be able to use when plugged into power). This is a good option if you know you are always going to be on campsites or you don’t want to install a leisure battery. You will need a hook up cable to plug into your side socket and then into the hookup point of your campsite. This can also be wired to a leisure battery so you can charge when on site if you are planning on having some time at campsites and some off grid. I decided against any hook up system as I already have a hook up lead from tent camping so will just run through my window when at a campsite if I want any high power 240v items running (like hairdryer, oil heater etc).
Fitting your electrics:
There are lots of YouTube tutorials out there with information on how to fits electrics in a van but my rule of thumb is if you wouldn't mess with electrics at home don’t mess with electrics in your van. By the time you’ve bought the tools to fit the electrics you may as well have paid an electrician who has the expertise to advise on all elements of your electrics and you feel safe in the knowledge it’s been done properly.
Something to bear in mind is that electrical sources come in 12v or 240v - if you want to use a charger for a standard camera, laptop or phone then you will need to convert your 12v supply from your leisure battery to 240v plugs (standard household type sockets) which you will need a inverter for. Some camper fridges and appliances come with a 12v fitting so bear this in mind when you are shopping because again - if you have a 12v socket you will need to fit a socket to your leisure battery which is usually done through a fuse box which is connected to your battery.
What power you can take from your leisure battery does depend on what inverter you use. I used a 500w modified wave inverter - you can actually run quite a few different appliances off it but as it’s a fairly low wattage inverter I’ll be exercising caution and treating it as a lower wattage inverter and I don’t want to drain my battery below a certain percent to keep it healthy. See more about inverters here.
If you are running a fridge, lighting or a heater you’d need to check the wattage of what you’re running and make sure you have an inverter that will give enough wattage.
Here is my rule of thumb of power usage in the van on my split charge/solar combo:
YES: laptop/phone/camera chargers and hair straighteners. Though a note here that my MacBook wouldn't charge from any inverter power I tried so instead I have a 12v charger.
NO: hairdryer (I really wouldn't recommend this because of condensation also), fan heater, kettle.
Exterior fixings
As well as considering if you want a hookup port on the exterior of your van there might be a few other considerations. For me, I definitely wanted wind deflectors - the main reason being I like a lot of fresh air so like windows open on the open road but also they will allow me to crack open the windows when in the van or to run the hookup cable through without exposing the window crack.
I also had parking sensors fitted. I did consider a parking camera but due to budget will revisit that decision as I don’t have rear windows so would be very helpful, especially because I live in a very highly populated city.
Ventilation

Ventilation is an incredibly important thing to consider when converting your van. Condensation is a van dwellers nightmare - it can cause damp, smells, rust and also have a huge effect on how warm you can get the interior of your van.
First off consider your windows - Vivs came fitted with a standard side window (one that doesn’t open - is just a panel of glass) on one side and a camper window on the other (this is a window with a sliding bit that opens) behind the kitchen unit which is what I wanted. The more windows, the harder to keep the van warm so for now I have left the back doors as panel doors (no windows) but might consider having windows fitted at some point for visibility (mainly for King Monty to be able to see out).
Because heat rises you’ll almost have to have a roof vent or fan fitted. I went for a non electric type vent above my bed and when it’s open it makes such a difference to the amount of light in the van. I’m told it’s fairly easy to cut a hole out of your roof but I left it to the experts at Epic.
Again, the benefits of fitting wind deflectors means you can crack the cab (driving/passenger area) windows if you need to.
Just a side note here - I bought a car condensation absorber pillow from Epic and it makes such a difference to condensation on my windscreen after a cold night.
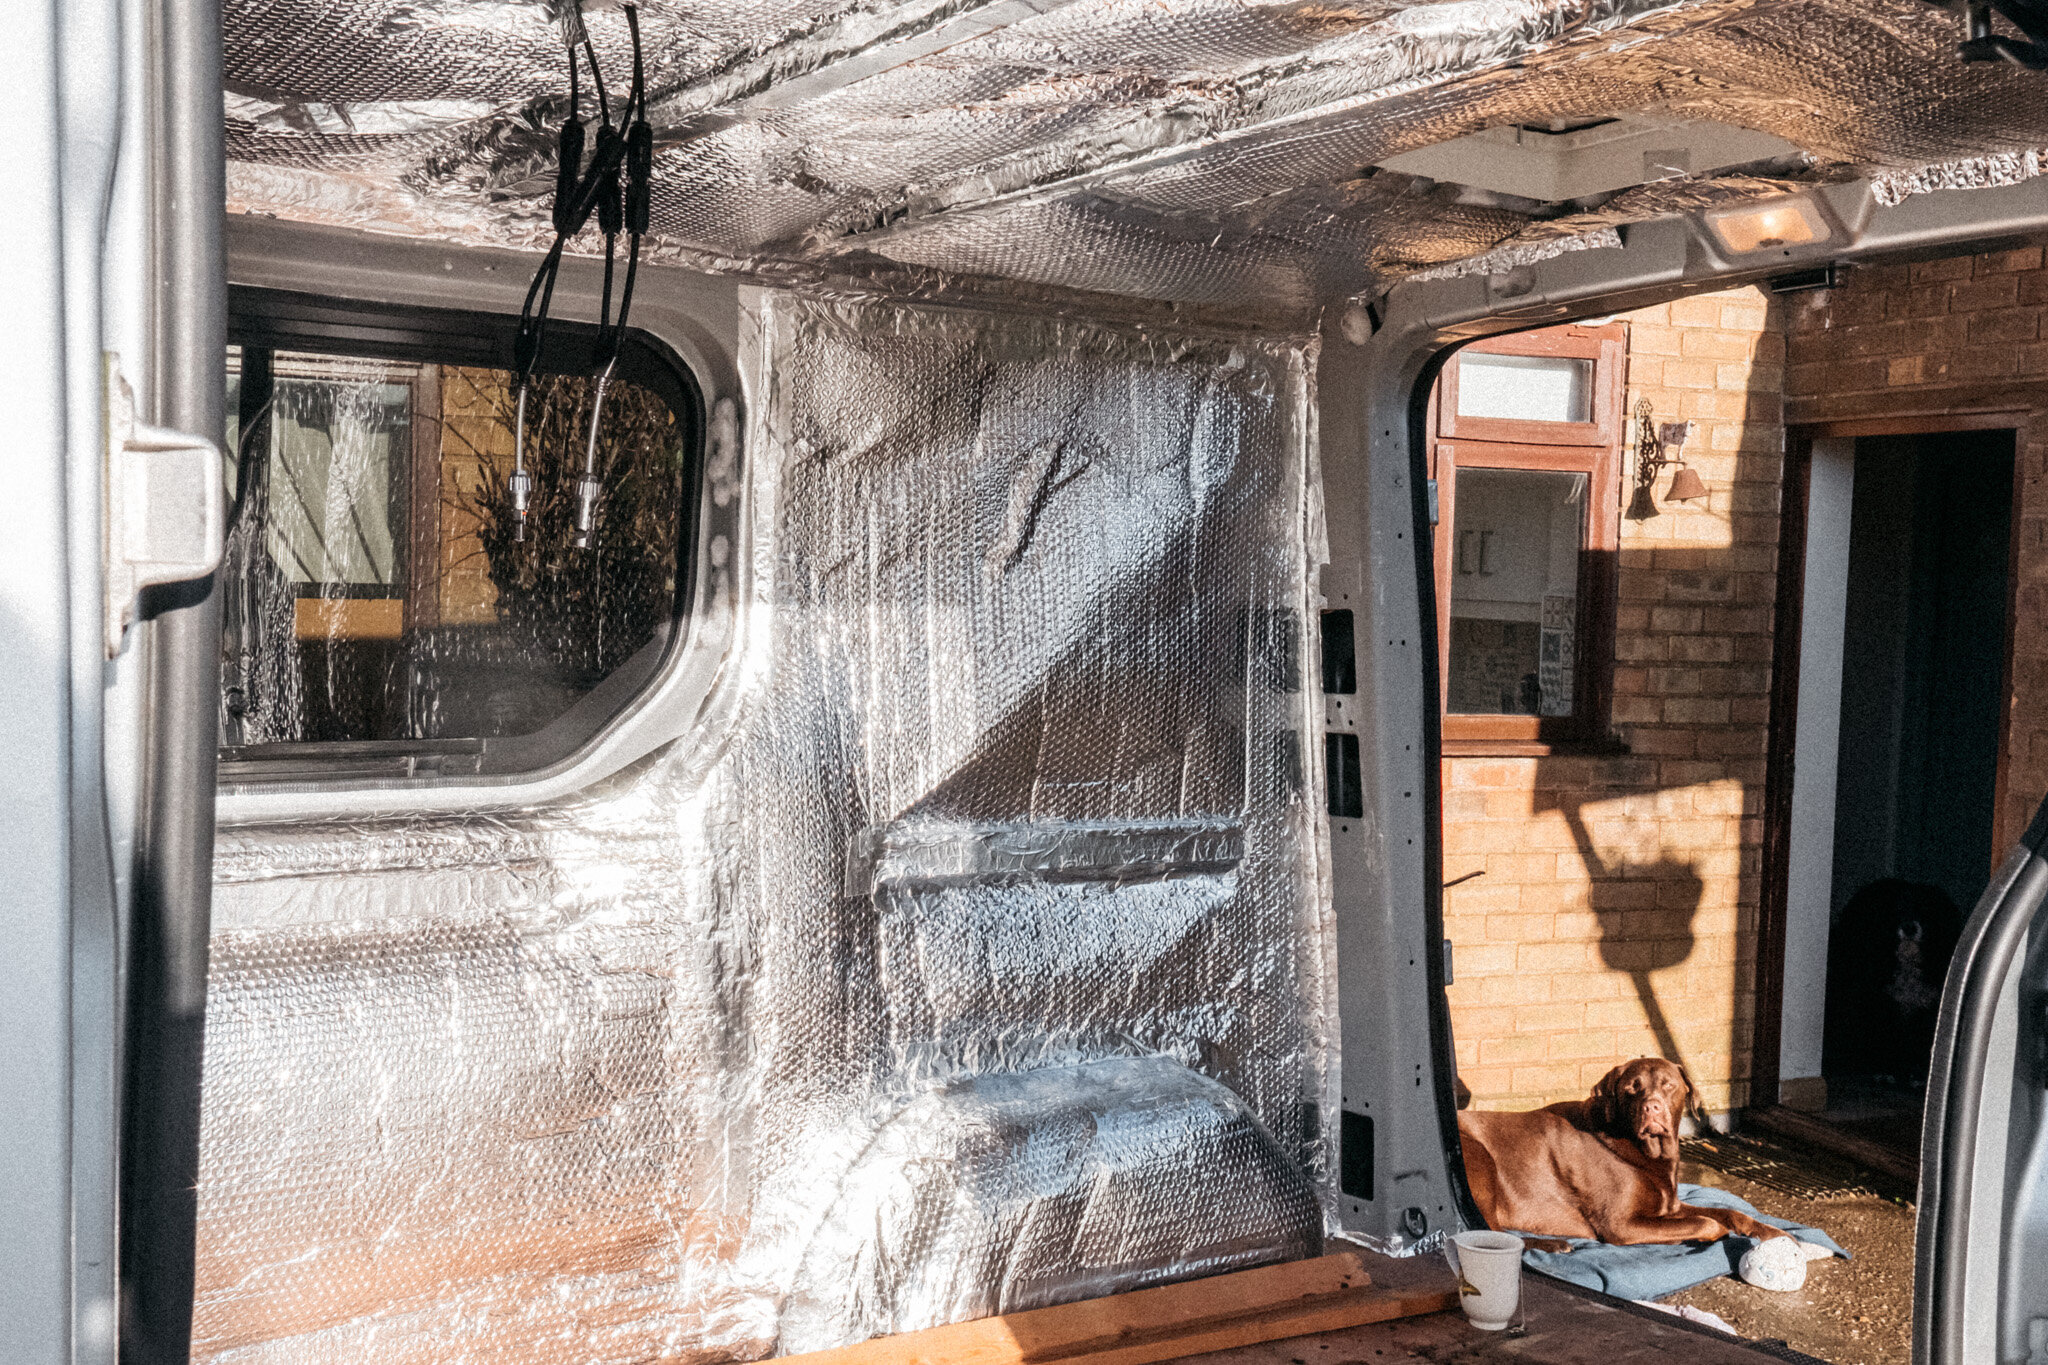
Insulation
If you’re going to convert a van you can’t skip this step and the more you can put into it the better. Living inside an uninsulated metal box won’t be fun at either end of the hot/cold scale. Not only that, without proper insulation your van will quickly rust because of the condensation produced by existing in the back of a van. The good news is it’s a fairly easy and quick job to do and you can do it to budget.
First off you’ll need to start with sound deadening. You don’t need to cover the entire surface of your van with this - just one sheet on each panel will be fine and then I used about 4 sheets across the roof then more around the vent hole to strengthen. I didn't sound deaden the floor or wheel arches because my Vivaro already had solid metal that wasn’t resonating there. Sound deadening will make such a difference keeping your noise in, noise out and the sound of the rain won’t be dramatic. I was rust treating the van on a night when the rain was beating down and without the sound deadening sounded like raining golf balls!
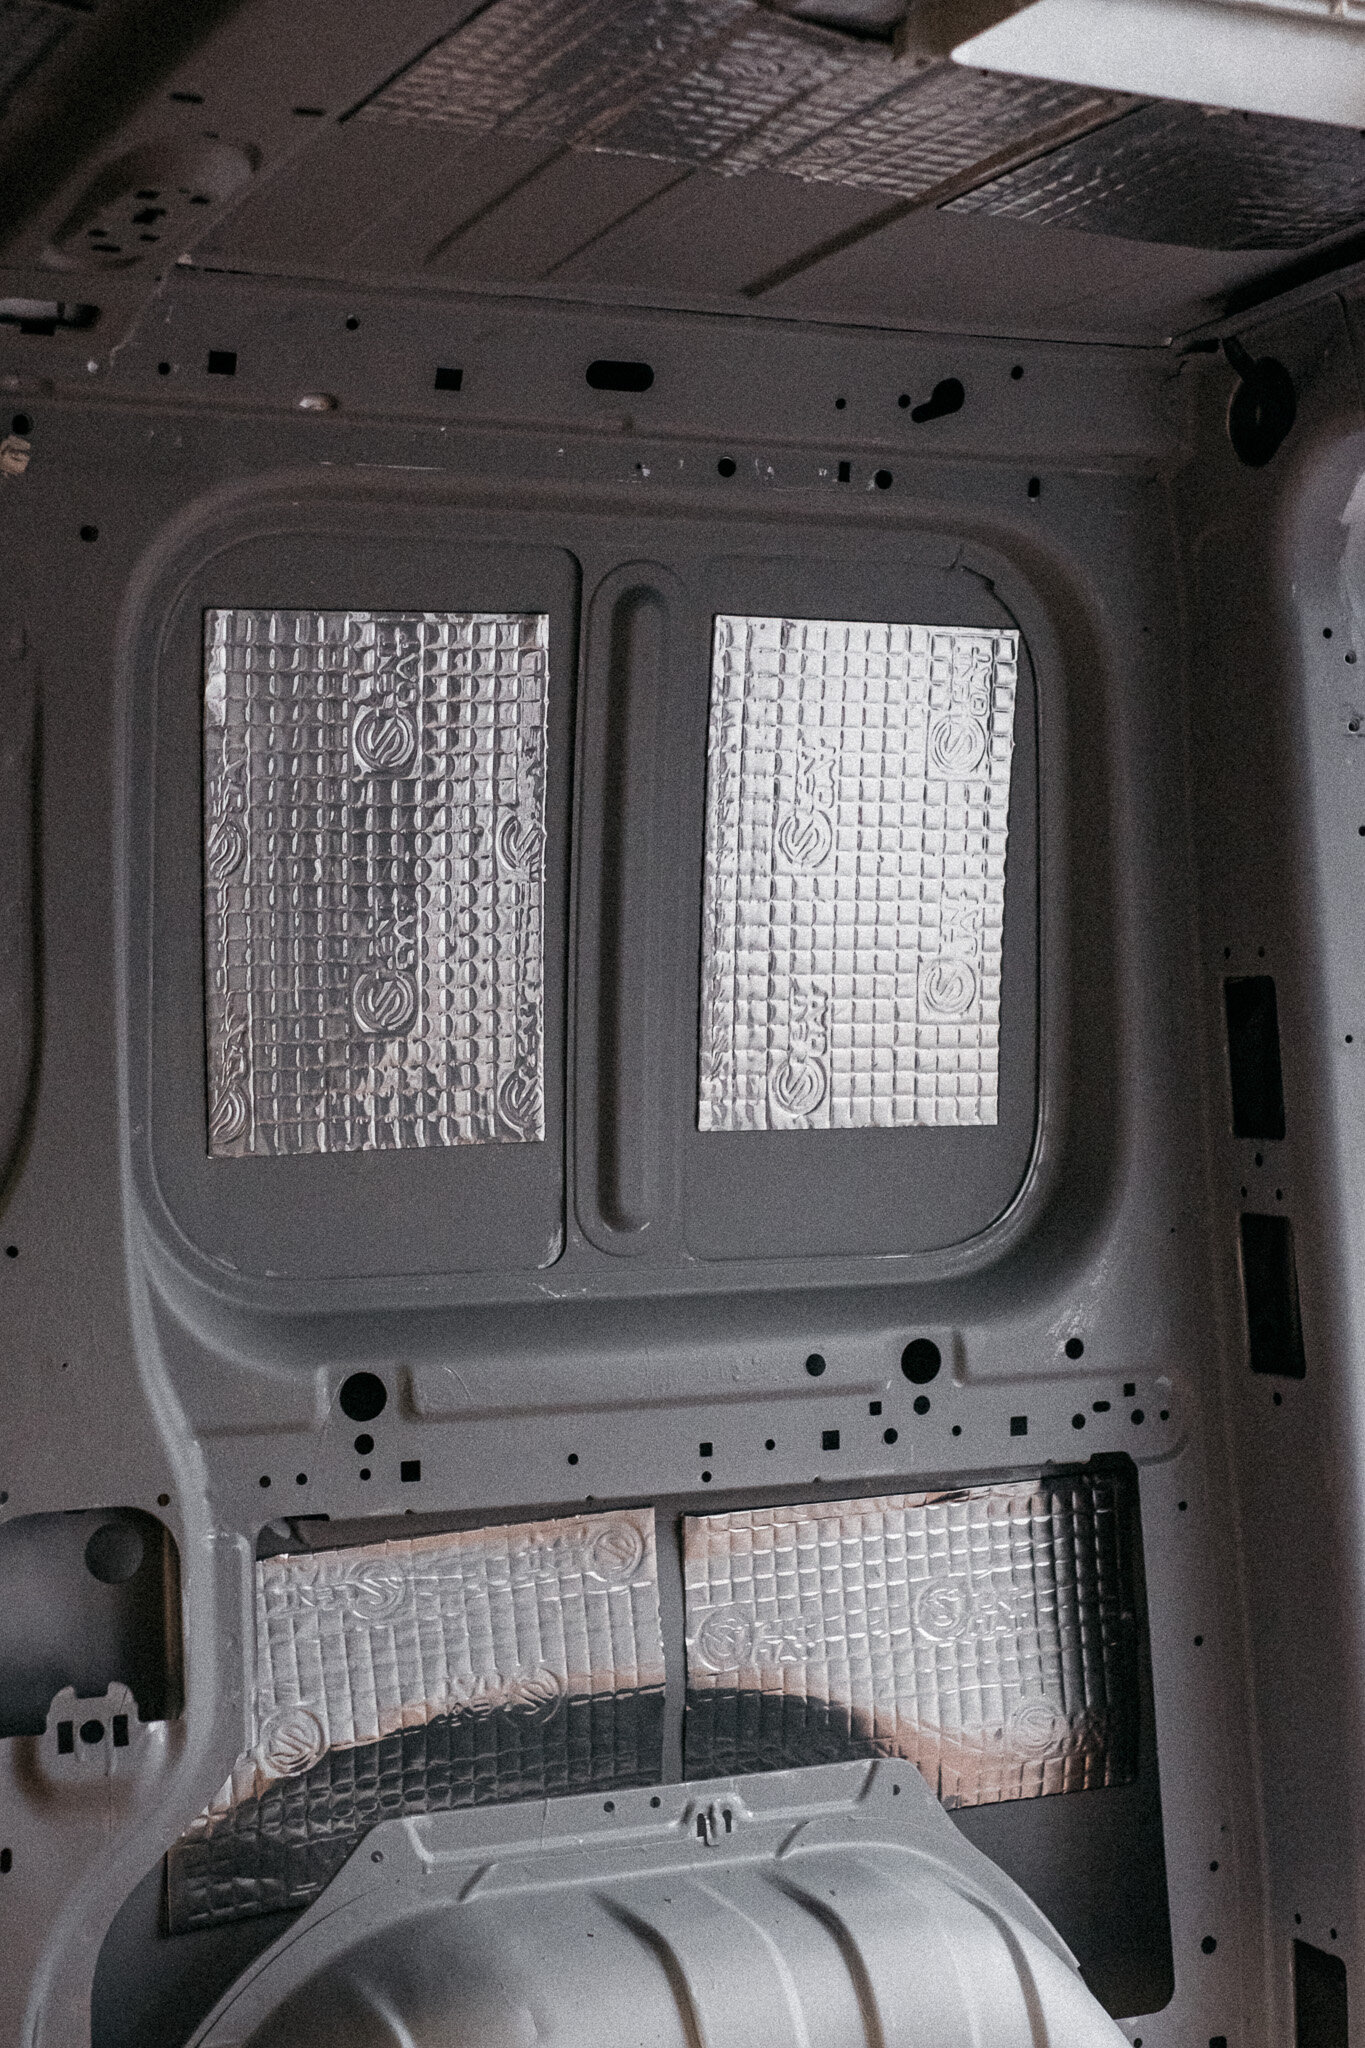
Insulation is a hugely debated thing - some people swear by some products and others not. The rule of thumb is - foil insulation on the floor as a vapour barrier under ply and whatever your floor covering will be. Then some thermal insulation on the walls followed by foil insulation as a vapour barrier. Finally, rigid insulation board on the ceiling with the foil insulation over. Then you have options of how you seal it in - this being either ply board, cladding or stretch carpet.
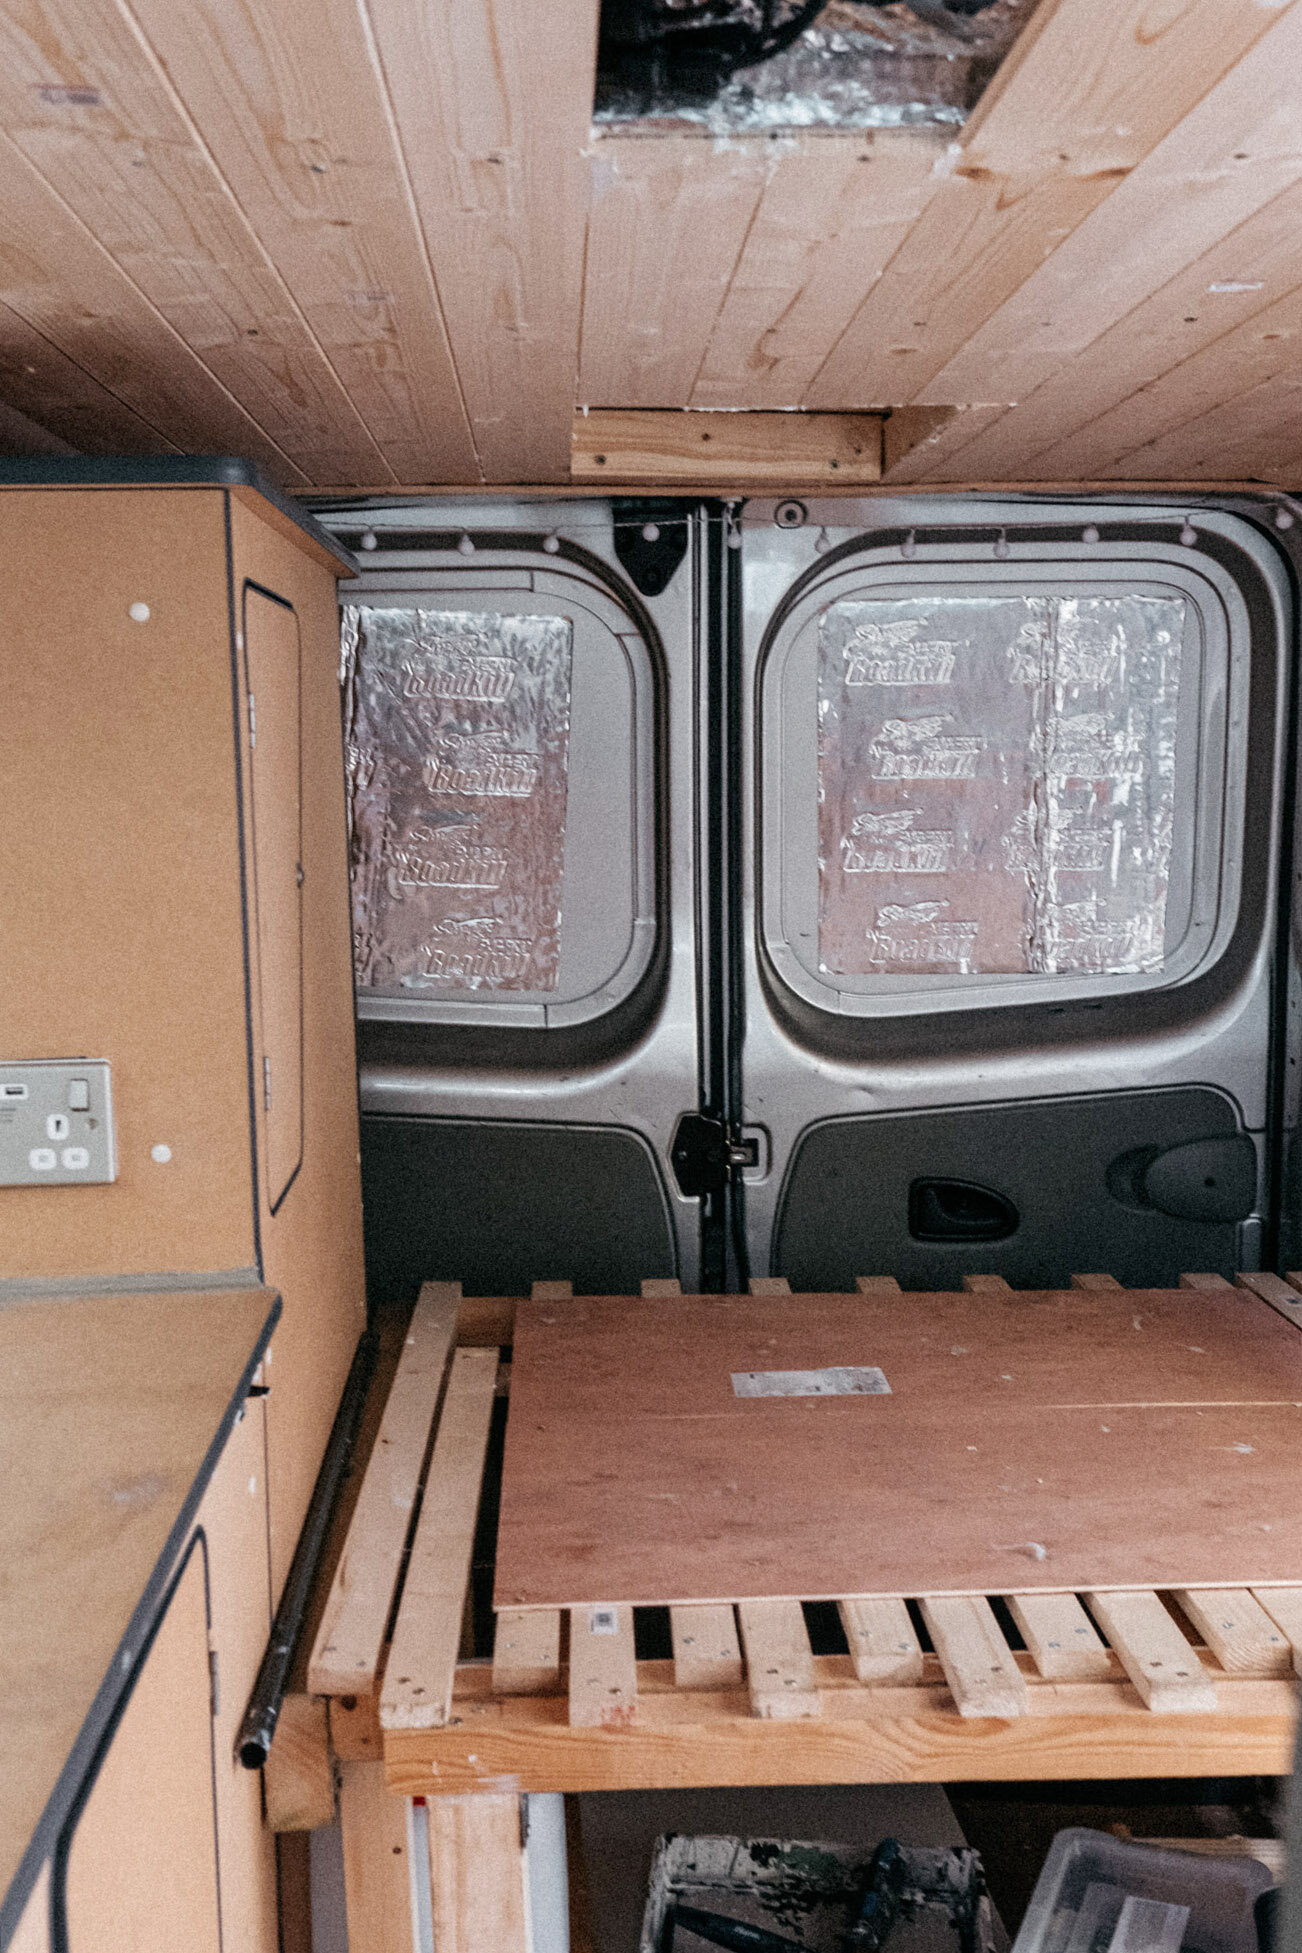
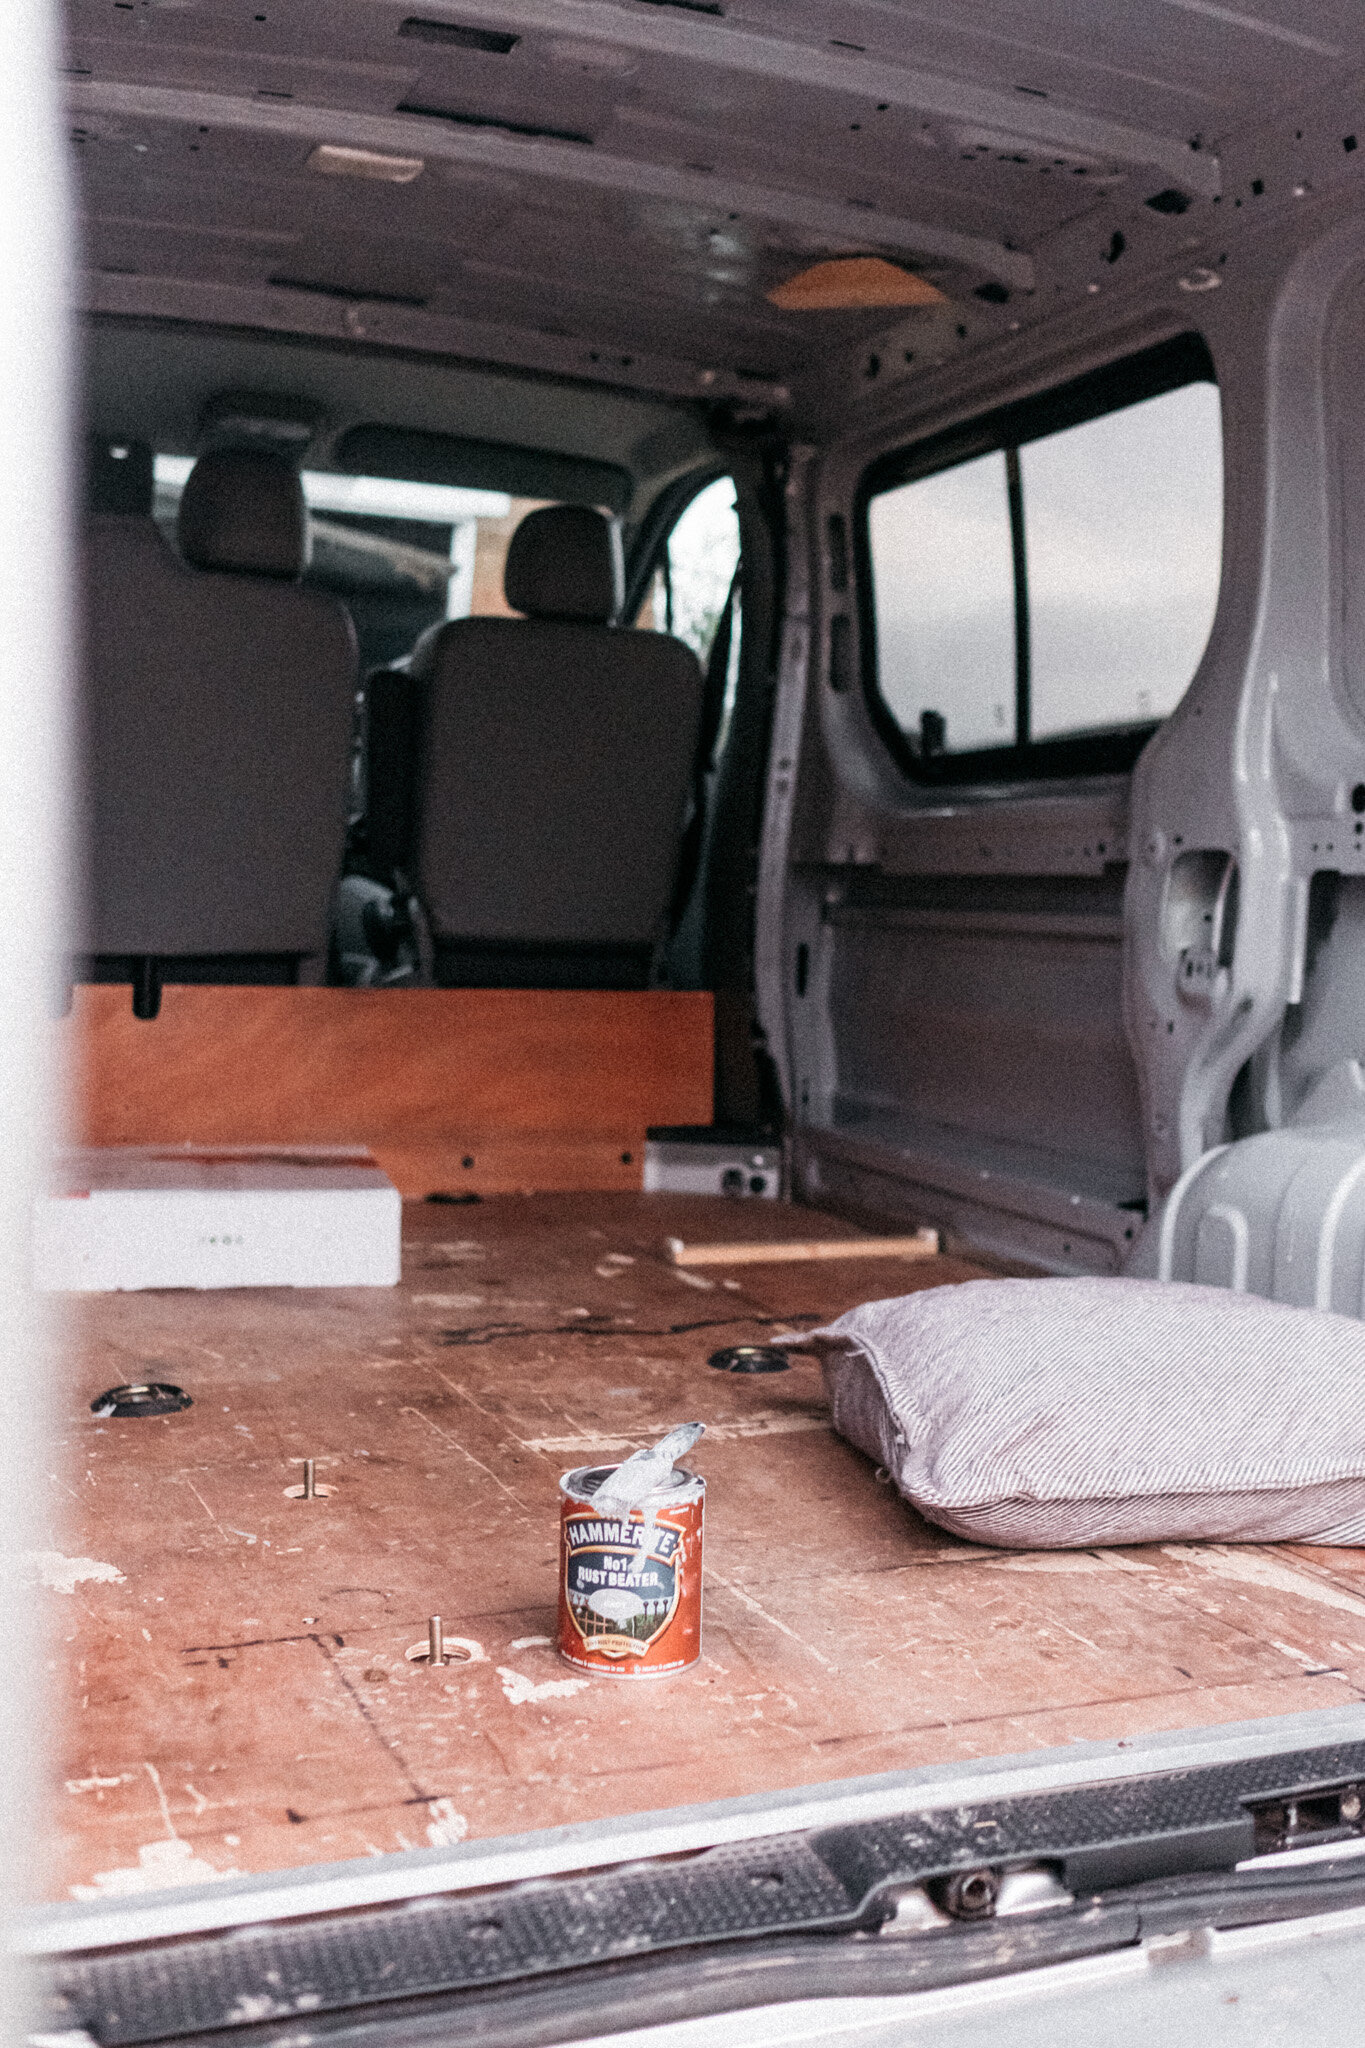
My van was already ply lined so this was my process:
remove all the ply
rust treated the whole van with Kurust before painting with Hammerite Rust Paint and filling the floor holes
using contact adhesive fixed thermal insulation along all the wall cavities and stuffed in any channels - it’s important to note not not pack this too tightly, it’s meant to be loose and will have more effective insulation effects this way
added wooden battens wherever I had fixing points in the wall (this will serve to fix furniture, ply and any other fixing to the wall)
installed foil insulation over the top sealing with aluminium tape
laid foil insulation on the floor
ran some battens wherever possible along ceiling to fit cladding to
used a slimmer version of thermal insulation on the ceiling and then vapour barrier
replaced ply
fitted wooden cladding to roof
I will be stretch carpeting any areas where metal is still showing (around the windows and back doors) when I have some more budget because bare metal is a condensation magnet.
Gas
The best place to make a decision about gas installation for your van is make a list of what will be gas powered. Some fridges are powered by both electricity and gas and a hob would be gas powered too. You can get portable electric induction plates but it will drain your battery so it’s pretty much a no go unless on electric hookup on a campsite. A hob set up will need a gas canister stored somewhere in your vehicle in a sealed box - this needs to be fitted by a gas specialist. Honestly, don’t devalue your own life or void your insurance by trying to save a few pennies on this. To connect to a hob you’d need a gas regulator and hose. You will definitely need a carbon monoxide alarm.
I didn't actually get a gas set up in my van - I am going to wait for after my first proper trip to see if it will be a consideration for me but for the meantime I’m just using a basic camping stove in my van doorway that I had already.
Food storage/fridge
Many van conversions include a fridge. This decision will affect how your interior cupboard layout is going to look so it’s good to make a decision on this early on. Having a proper fridge will mean you’d need more power out of your electrics system. Most modern fridges will run on 12v while the vehicle is moving and then switch to 240v or gas depending on if you have a hook up or not when stationery. There are different models of fridge and the way the work - compression and absorption or toolboxes. See a guide here.
The other option is to have a 12v fridge like this one. This is likely to be the route I go down as space is limited in my van and I want something I can tuck between the passenger seats and glovebox.
Bed/sleeping
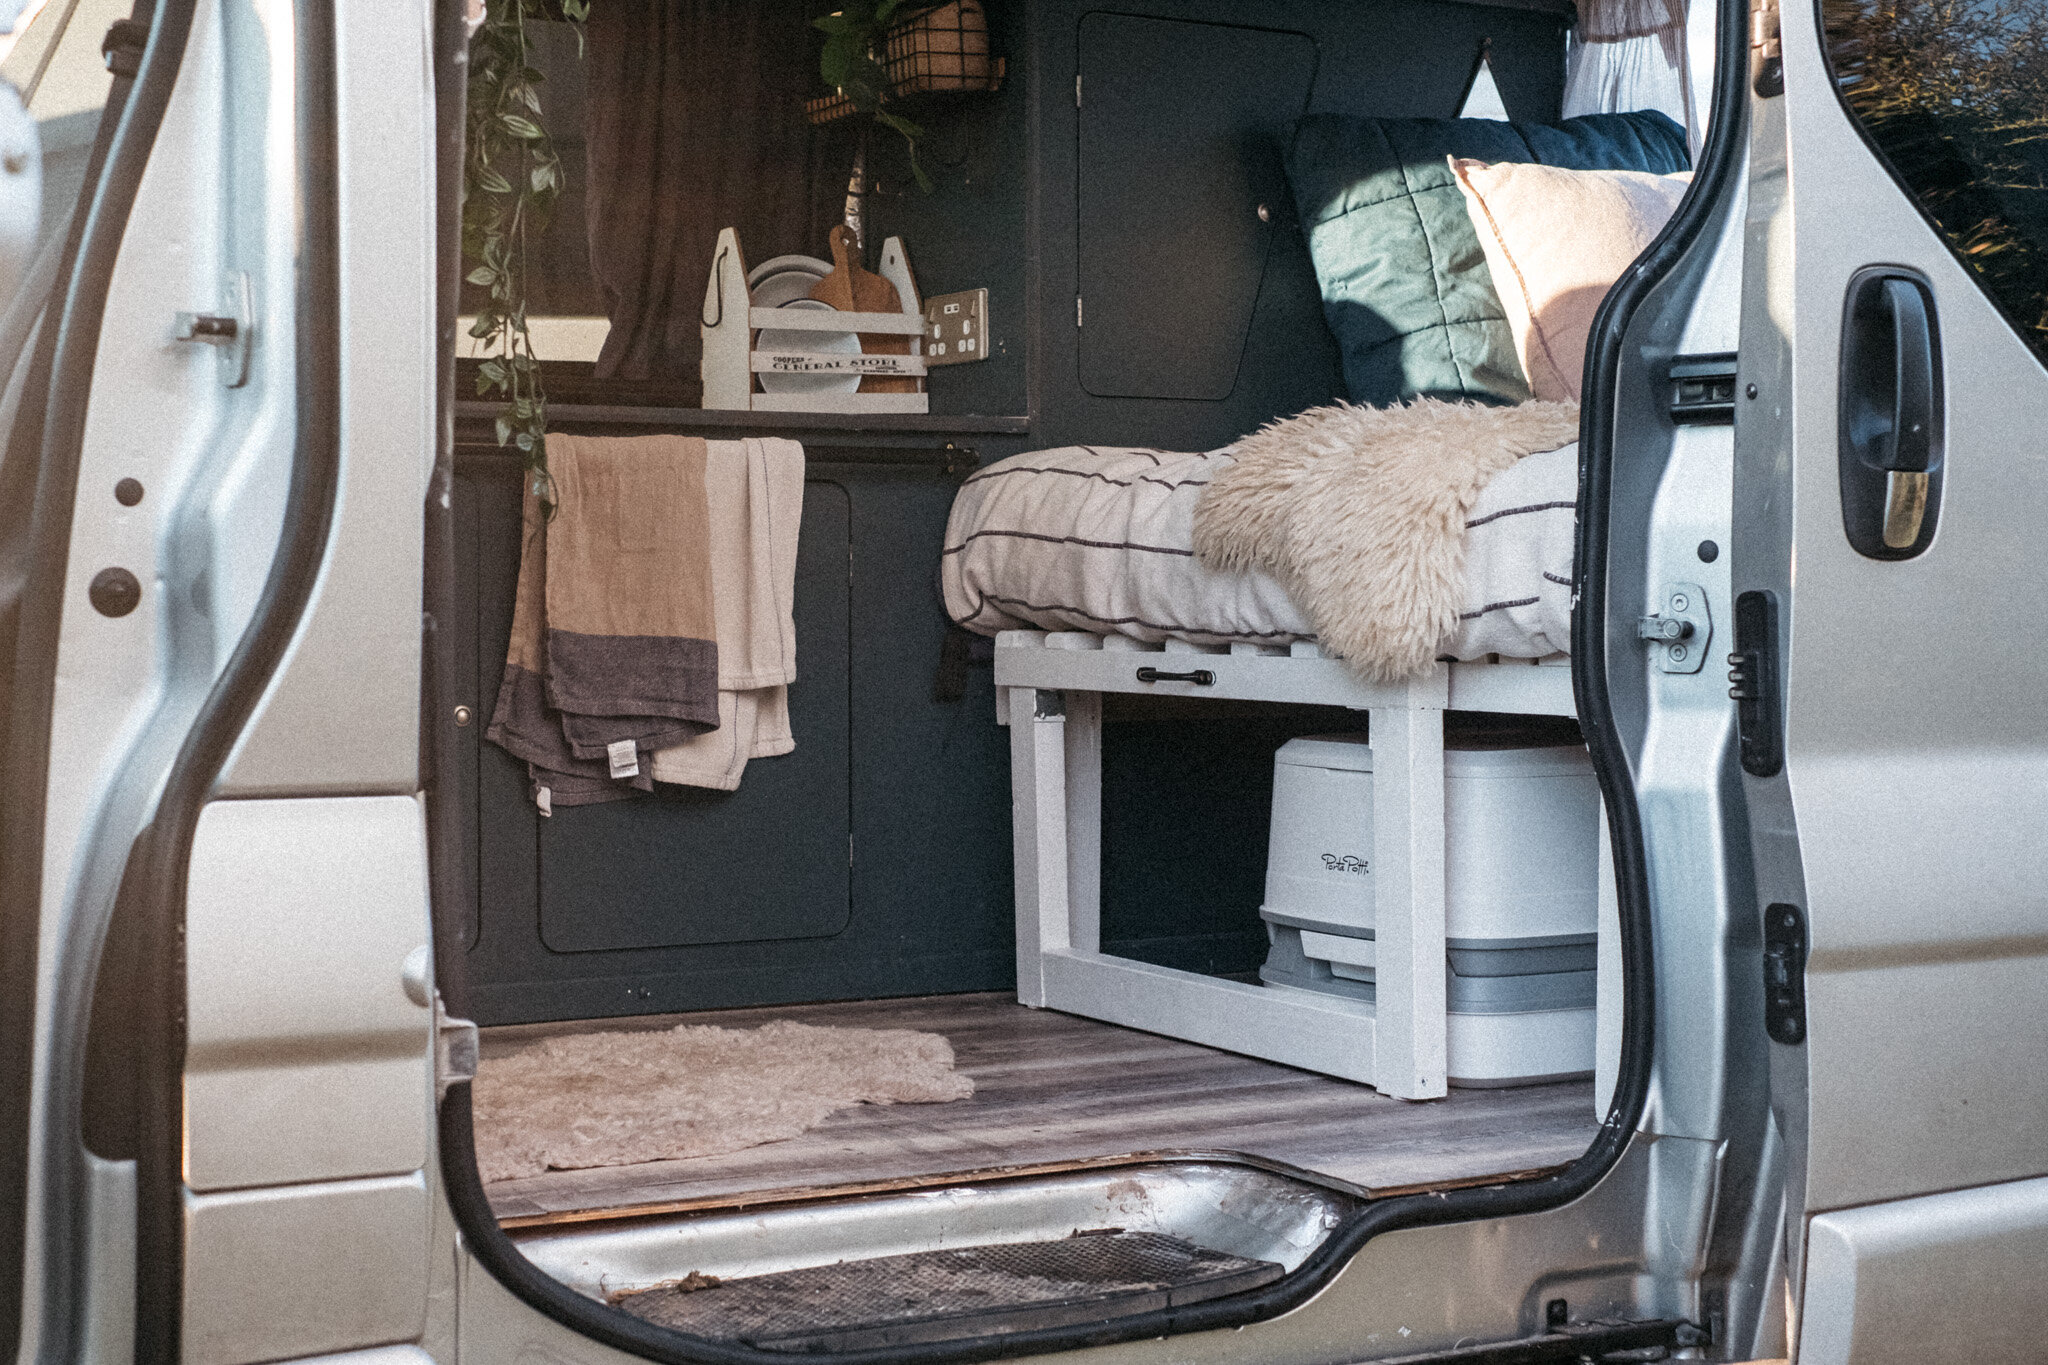
When planning your conversion your bed is going to be a major factor on the layout of your van. For smaller vans a bed running across the width of the van isn’t really an option unless you’re really short - like me! But my cupboards were already in so it left me with one option - a sliding bed.
A fixed bed is one that is full size and you don’t have to do anything to make the bed - of course the downside is you lose serious space in your van for your living area. A sliding bed is a bed fixed in place but has a portion of it that either slides or folds away. The sliding section may move widthways or lengthways. Mine moves lengthways as that’s what worked best for my layout.
You can buy pre made sliding beds for your model van in whichever way you want it to slide for a reasonable price but I made mine from foraged wood around my neighbourhood. You’ll need access to an electric saw but it was a pretty easy thing to make. There are plenty of tutorials out there but I just took the measurements, sketched it out and cut the bits of wood to size. It was then a case of just putting in all the screws.
There are plenty of custom foam companies around that will cut to size. I’m using an IKEA mattress that I cut to size. The plan is then to get the cover resewn for the separated mattress when I get a bit more budget in the pot.
The other option is a thing called a Rock’n’Roll bed - this is a seat duo that folds down into a bed. They look neat but I’m told you have to pay out for comfortable ones.
Interiors
This is the bit I got super excited about! The decision about which cabinets to put in was taken out of my hands as, as mentioned before, Vivs had cabinets in her that suited me fine. They are MDF cabinets that you can buy flatpack on Ebay. If they hadn’t have been there I would have built cupboards out of timber foraged locally. I know some use ply too. MDF is a lot heavier and swells like anything when it gets wet so I primed and used 4 coats of emulsion on mine as well as painting in a fake marble worktop covered with acrylic. Finally, I waxed the inside of them with some wax I had left over from stripping the floorboards at home for extra peace of mind.

The thing about van interiors is everything needs to be super secure. If you fix any shelving or racks to the wall make sure there is no way the things on them can slide or fall off. I tried using metal racks on my cupboard walls but all the jars clattered around while I was driving and it annoyed me so I lined with 2mm cork roll. I used this rack from IKEA for books (and a second one inside my cupboard to hold my OS maps) and I’m still looking for a kitchen rack solution, it’s likely I’ll make one when I get access to a workshop again.
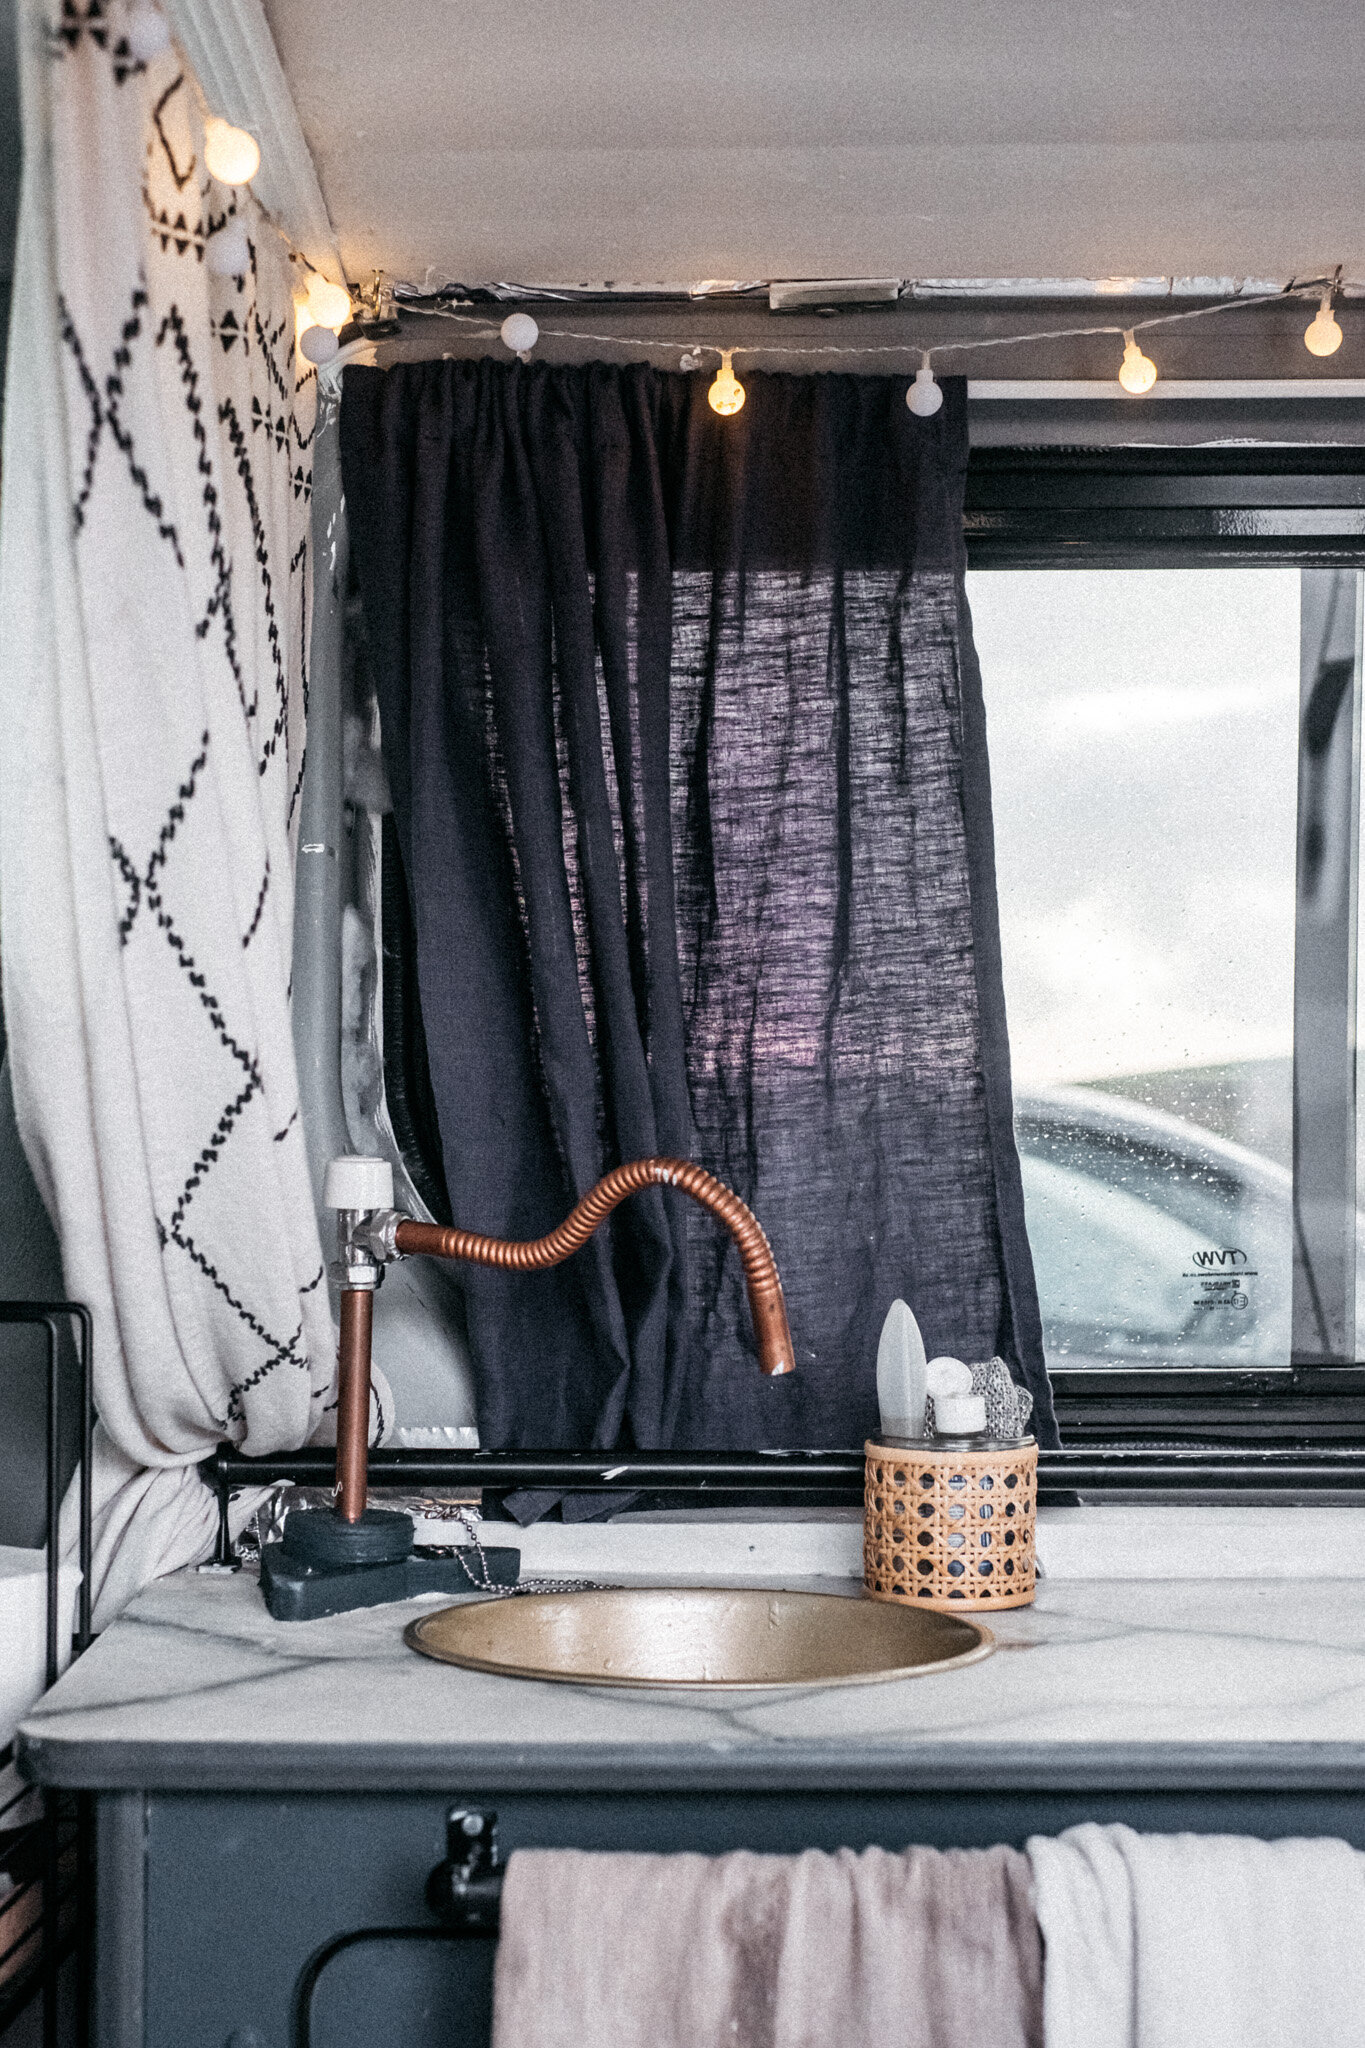
Plumbing
It’s pretty easy to set up a basic water system in a van once you get the right pipes and fittings. My cute little copper tap was in already but whoever put it in just used copper pipes and a radiator valve. I added some pipes running to a electric water pump that was sitting in a 20l jerry can and then drilled a hole in a mixing bowl, added a waste disposal pipe set and connected to a 10l jerry can. The little pump was added to the electrics system by the electrician as you’ll need an on/off switch to run the pump. The alternative is a foot pump if you want to avoid wiring up to the electrics.
I have to admit, I did struggle to find the right pipes so ended up lopping a bit off my hosepipe a home to draw the water but any good homewares shop will help you out.

Some people do install showers in their vans - I have this that I used to take camping so I’m just going to crack on with that as it’s brilliant.
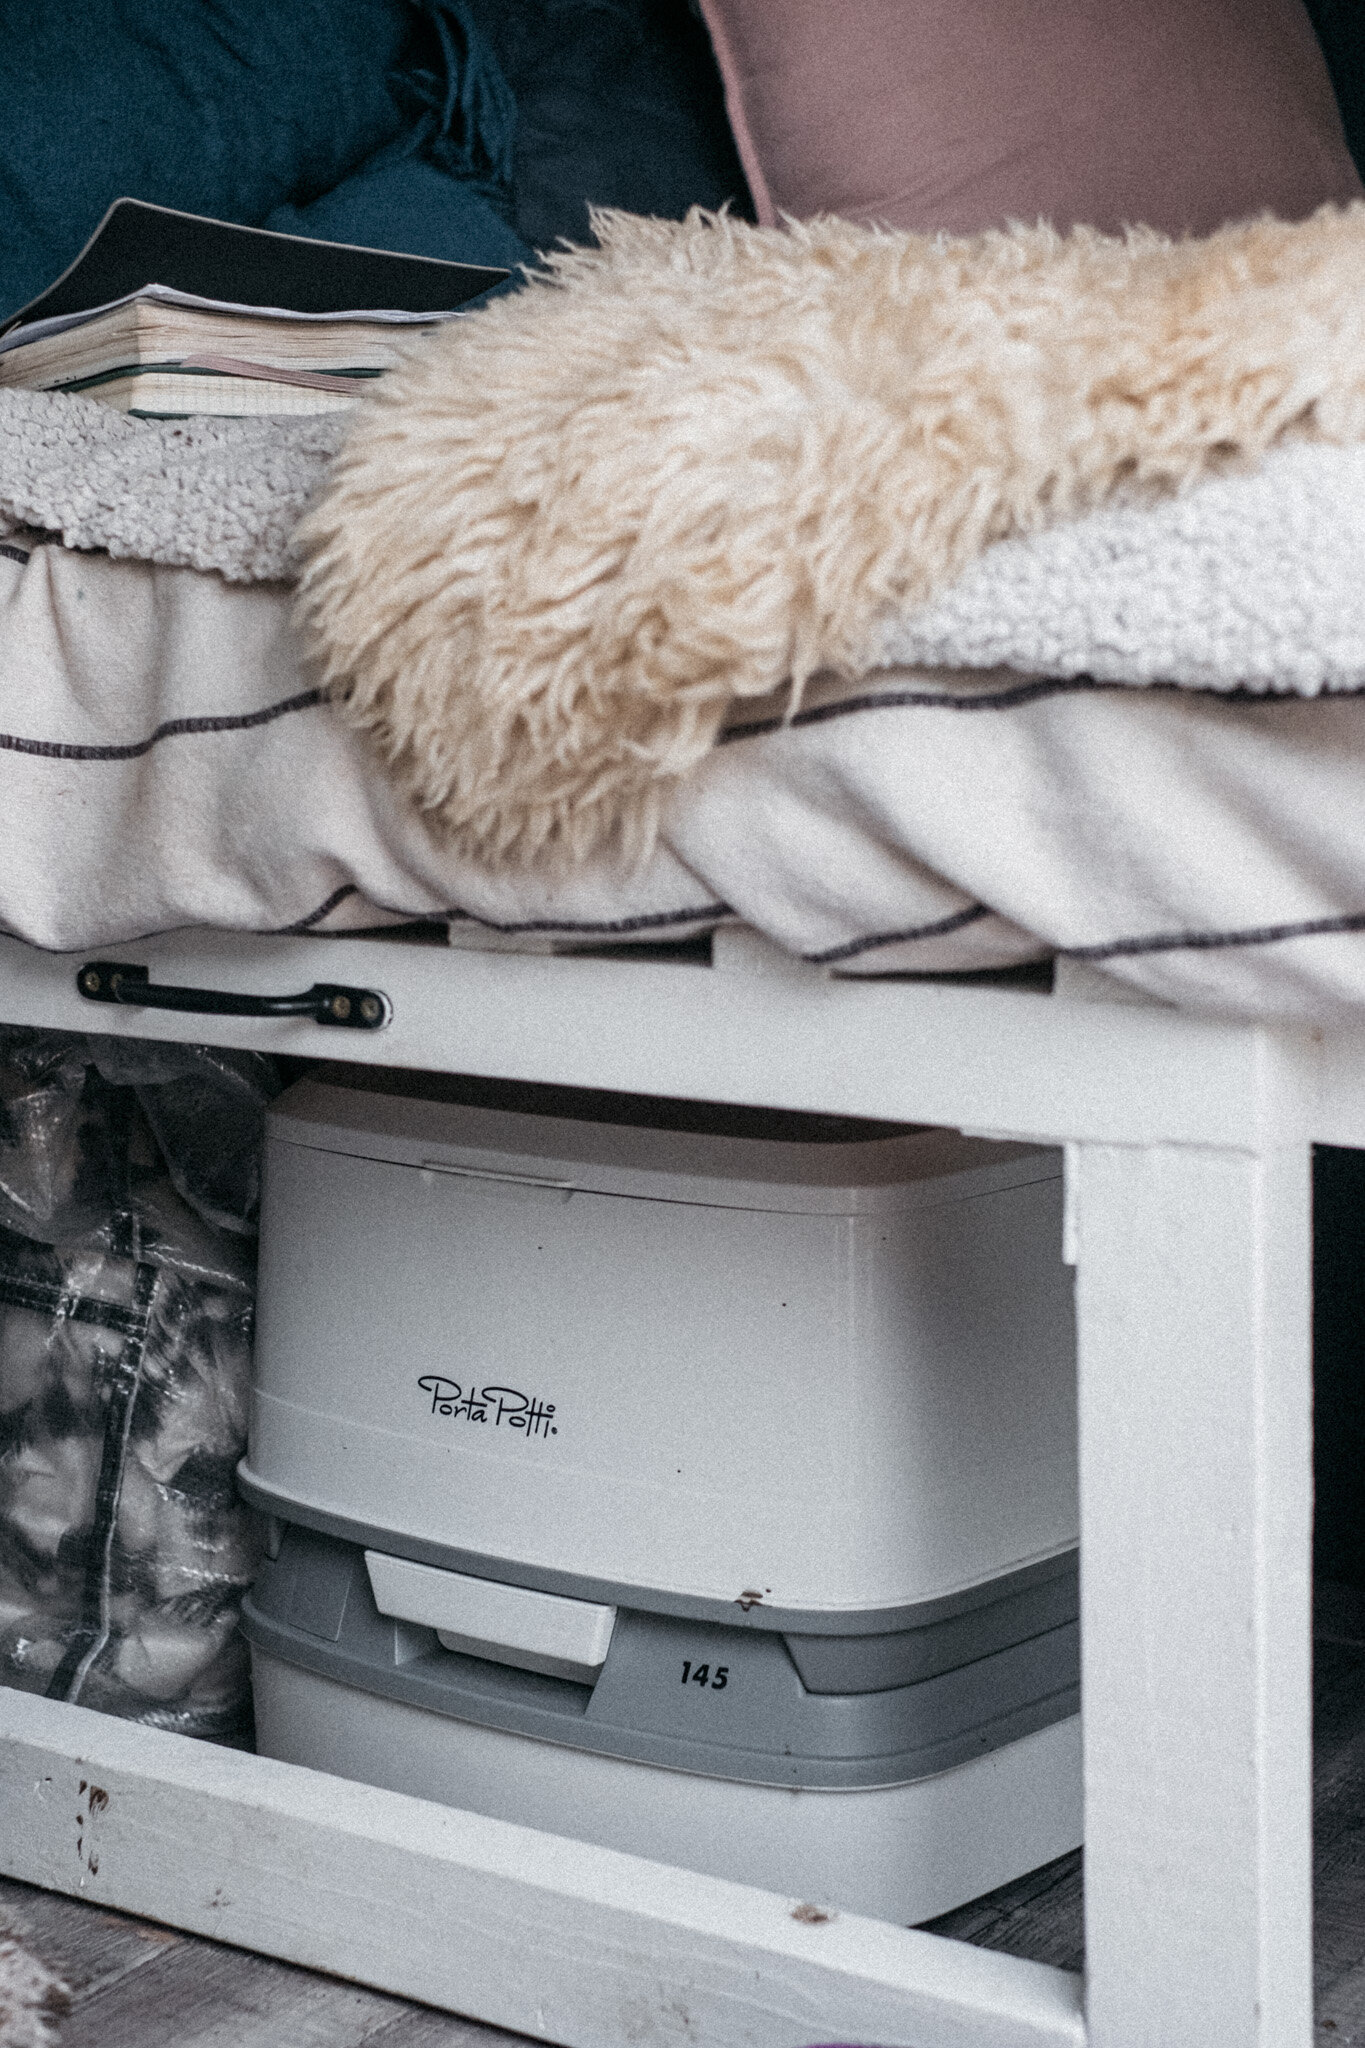
So what about toilets? The universal standard for van life is a Thetford - I have the smallest version and it does brilliantly (please use bio degradable chemicals) and tucks under my sliding bed beautifully.
Larger van set ups may have a plumbed in toilet and the waste water sits in a tank under the vehicle but it’s as much faff to empty as a Thetford. I only use my Thetford when I don’t have access to a public toilet and for number ones I use my little female urinal and a jug with a lid - much less faff. But be warned, you’ll need a bigger jug than you think - I’ve got a 2 litre and thinking up getting a bigger one!
PIN ME!