Interiors ~ a Pantry to Inspire Cooking and Growing.
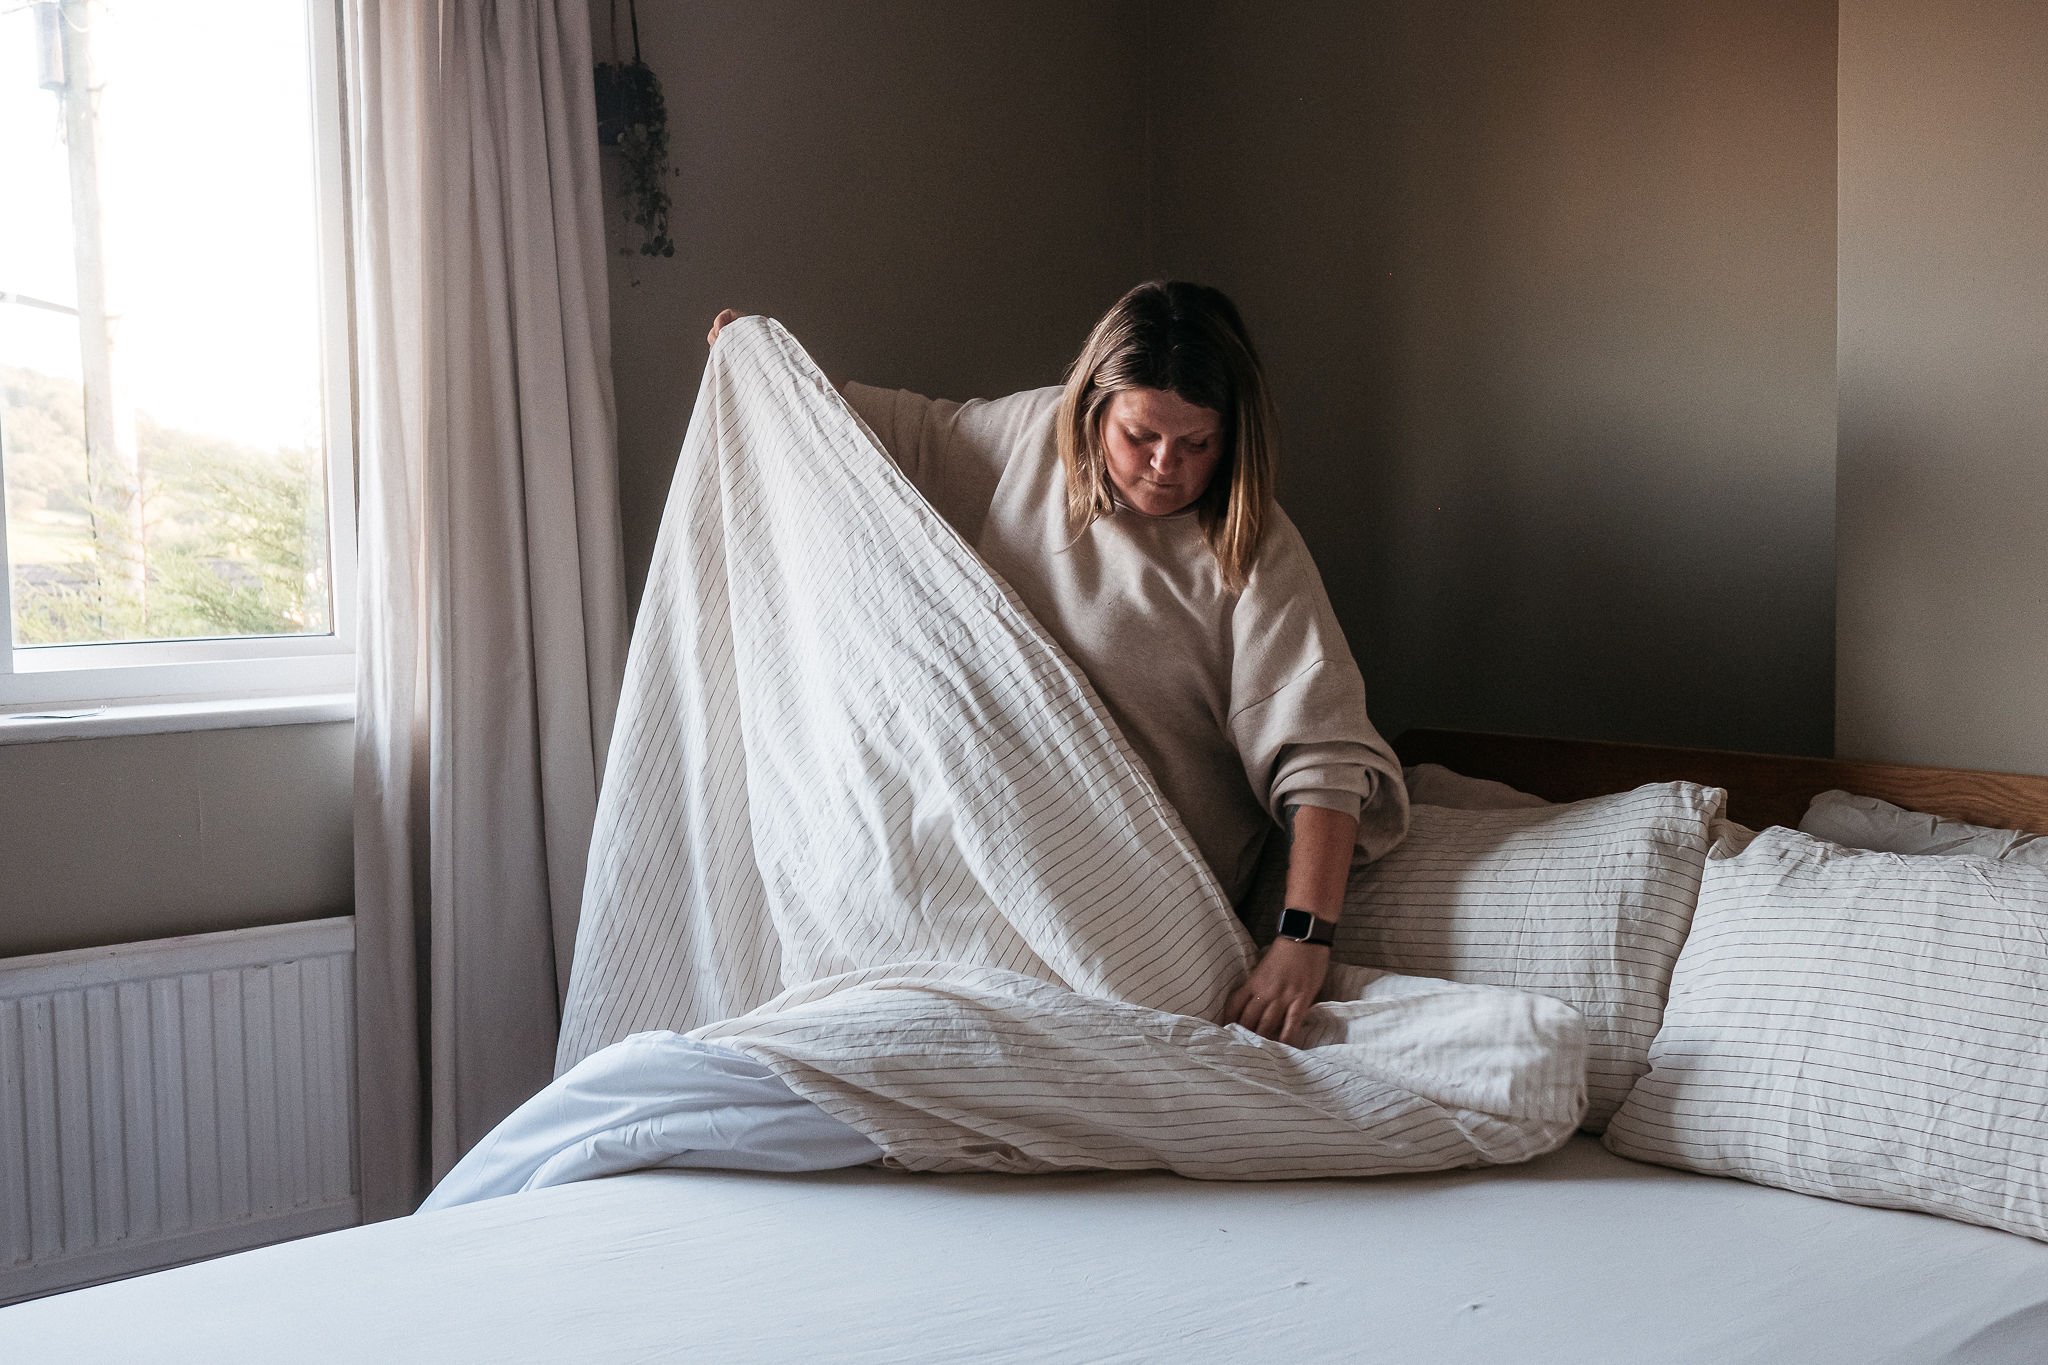
Being someone who needs a space to be configured in a way that is efficient to be able to carry out routines, I put a lot of effort into making spaces around my home work in the best way they can for me. As someone who not only loves to cook, but also has ADHD, to be able to not be faced with crippling decisions about what to cook for dinner by seeing what I have in stock in one cast of an eye is everything. I haven’t been able to lay my food out like this though in my last few rentals, tins and sauces festering at the back of cupboards and flours with their opened tops rolled up in storage boxes secured with elastic bands discovered years later to find a much of very active flour weevils. Needless to say, not having the right food storage has meant my love of cooking has ebbed away somewhat over the years.
It’s always been a dream of mine to have a gorgeous pantry. One where I can stacks jars of dry weigh from the zero waste shop with clear labelling and date notes on the back. And baskets of potatoes and root veg from my veg box ready to be stewed and roasted. Alongside everything on display and organised to inspire cooking, bunches of herbs from the garden drying out ready for making seasoning and herb butters.
So when I moved into this house I knew exactly what I was going to do with the little room of nothingness that joined the kitchen to the garden. A room that housed a boiler and not a lot else. I never imagined it would be the first room I got done though, if you can ever call a room in a home done.
It turns out this room was pinnacle to so much - I couldn’t sort out the main kitchen while all the food was stored in the cupboards that I want to rip out and being more inspired to cook since moving I wanted a way to start a fresh. Add to that, my Mum’s fruit trees were abundant with fruit this year so I wanted somewhere to put the boxes of apples and pears. So I got to work and while it isn’t finished I had so many questions about it on my Instagram post so wanted to share more about it here.
Prepping the room
I’m not sure what the previous residents had used this room for but it was full of holes so it was possible it was a store room or even a pantry too. But I wouldn’t be using so many so got to work filling and sanding ready for painting. The walls were grey and white in a satin sheen so I wiped it all down with a degreaser, including the floors and skirting.


I then painted the rooms in a Dulux kitchen paint in Timeless, I really didn't like working with this paint - it was thick and hard to get into the fiddly brush areas and regretted cutting corners on it but I had spent so much money on very low VOC paint elsewhere in the house and thought I could probably get away with it. But I would say invest in a better quality paint if you can.
The floor was a dream to paint with Rustoleums Floor Tile Paint, more on that very soon. I chose Grounded which is part of the Rustoleum x Our Neutral Ground range and extended it up the skirtings, using decorators caulk to f=ill gaps between the skirting and the floor. My error here was not filling where the grouting had become deeply set as it’s difficult to clean and doesn't look nice in those areas.

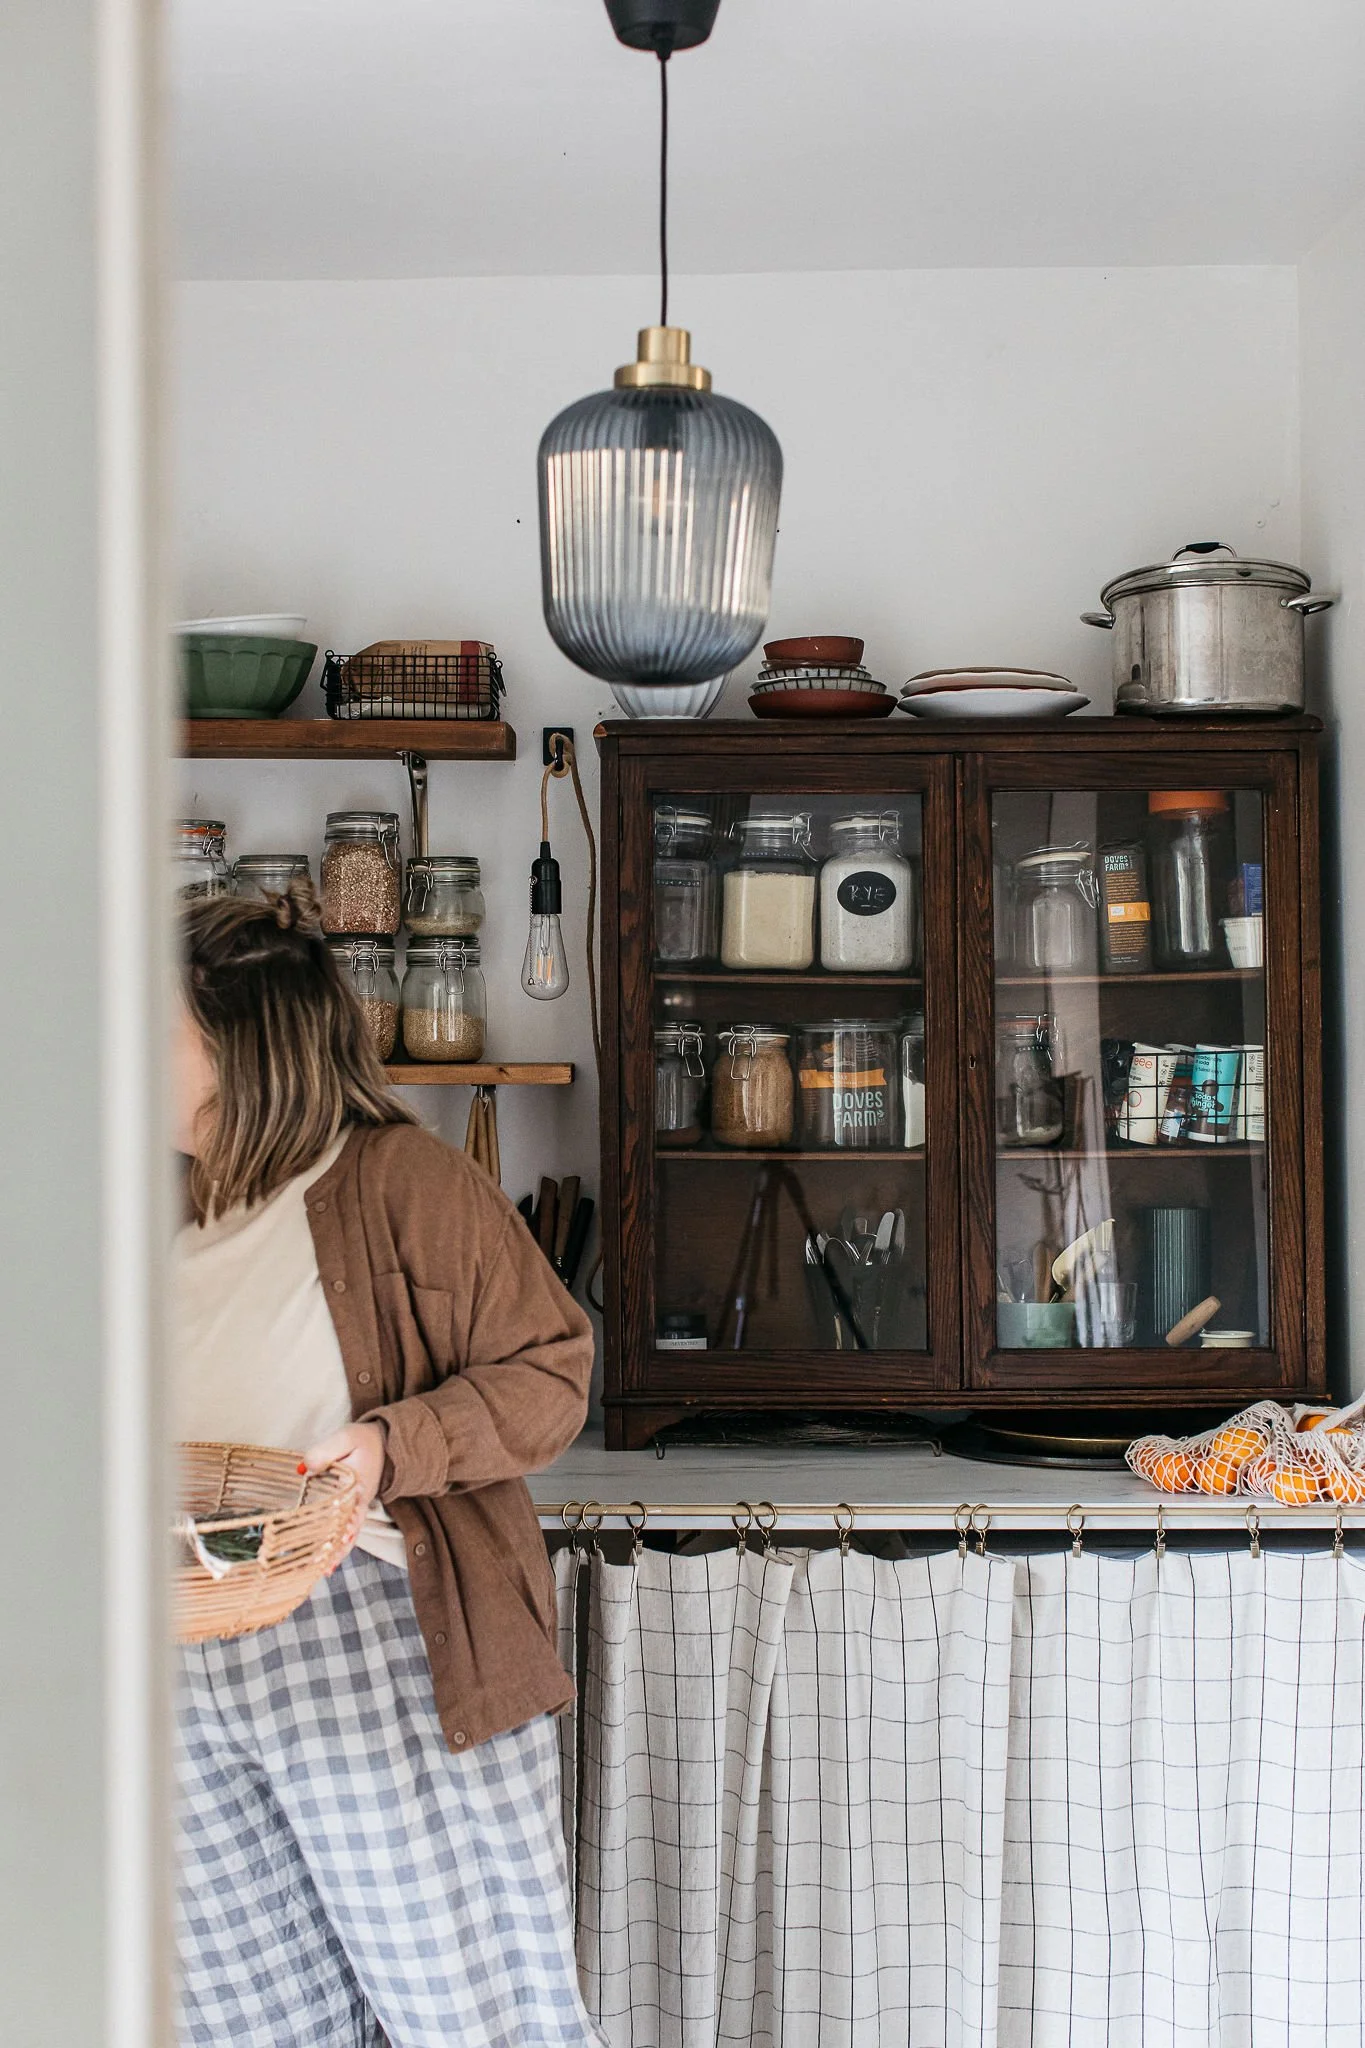
The worktop
This is just an Ikea worktop that I cut down to size using a circular saw. I secured it to the wall by first battening - fixing strips of stud wall frame that I had sawn down to the wall. I measured the height of where the worktop was going to fit taking measurements from the main kitchen worktop so an under counter freezer would fit underneath. I’m yet to seal the edges of the worktop but will get round to that soon and use standard kitchen sealant. I then used another bit of stud wall frame wood under the middle of the worktop to stop it from bowing.


The curtain
So many of you have asked me about this - the fabric is actually a linen mix tablecloth I already had that I cut in half and hemmed to size. I cannot tell you how long I spent online trying to find an affordable gold cafe curtain rod that would fix to a worktop and in the end I just bought a cheap white tension net rod and spray painted it in gold. I then hung the curtains with clip curtain rings you can find in most of your usual homeware shops. I added a gold L hook mid way to support the middle of the rod as it’s long and was sagging.
The cabinet
I spent hours trying to find the right glass fronted cabinet on Marketplace and when ones I wanted did come up they were either sold already or I got messed around by the seller. But this came up in my feed one eve and was located in Loughborough and it just so happened I was working in Loughborough the next day so snapped it up. I removed the legs as it stood too tall on the worktop but think I took off too much! But I still love it. I will remove the varnish and restore at some point but for now it’s fine!


The shelves
I reused shelves that I had in my old flat (that were kindly given to me by neighbours who were renovating) and also reused shelves that I took down from the kitchen here that the previous owner had left. I sanded down the shelves and oiled with Osmo Top Oil in Acacia which I love - I used it in the van and a year later there are no water marks or stains.
Shelf brackets were from Screwfix and I thought they were so reasonable for the quality and how they look.


Finishing touches and artwork
I loved adding a pop of colour to an otherwise very neutral room. The Pink Pear artwork I was gifted at a Cosyfolke event by Emily Adlard couldn't have been more perfect t to finish off this room. And there was also a tangerine card I bought on one of the last get togethers with friends before leaving Brighton by Evermade that makes such a lovely memory jog every time I take a jar down.
The peg rail is my go to, I have loads of these around the house, they are just so brilliant and look really classy.

Lighting
The main ceiling pendant is IKEA believe it or not, an absolute steal at under £25. I love how it looks and the diffused light it throws off. The bulb plug in was from Lewes homewares shop From Victoria years ago but I don’t think she sells them anymore. It’s so great because it has a pull chain next to the bulb itself so I don’t have to access the plug which is hidden away behind the cabinet.

Organisation
When I moved out of the last flat I emptied all the jars so could start from fresh with new system so working my way through that but I have a Dymo label maker to show what’s in each jar and then I tear off a bit of masking tape to write the date I filled the jar and stick on the back. It will help me keep track of what goes out of date as you don’t realise how much time has passed - which I learnt the hard way with some very out of date kidney beans that made me very ill.
Then when I do my monthly refill shop I’ll scan the jars and make notes of what needs filling up, keeping the new stock in my airtight storage box until the jar is completely empty and can be sterilised in the dishwasher.

What do you think? I’ll be adding a pot hanger and boxing in the boiler with a cupboard at some point (though have angled these photos so you don’t see it!) but I love my little pantry and am over the moon with it. If you have any questions, fire away in the comments, I’ll be happy to answer!
How to create a wildlife friendly garden on little to no budget.