Home: 6 months in my house and here’s what I’ve learned about renovating on a budget.
It’s crazy to me that it’s been six months since I signed the papers on this house. And when I was obsessing about those Rightmove photos I didn't envisage that the house would be so unfinished at this point. But when I look back on those photos I’m amazed I found the time between work and other things to do what I have!
After buying a house being a goal for so long I had so many emotions in the months that followed ‘doing the deal’ - a strange mix of anti climax and high appreciation. For me, this wasn't just buying a house, it was a massive relocation and a punt on the area.
Now the months have gone by I’m a lot more settled I’m so grateful for this house. Every morning I write in my gratitude a version of my appreciation that I own this house. This is the best house I’ve lived in - I’ve never had so much space and it has so much potential. Add to that I’m not renting anymore so can go to town.
For those that follow along on Instagram you’ve seen that I’ve been tackling the DIY job by job and learning the skills as I go. There’s been sleepless nights going over how I’m going to project in my brain, like that meme of a woman with the figures in front of her. But apart from the roofer and plasterer everything I’ve done in the house so far was done with my own fair hands (apart from a bit of help with the kitchen from my sister).
So in reflection and with the last 6 months in mind, here’s what I’ve learned about renovating yourself on a budget:
Everything will take much longer than you thought
Let me tell you something for nothing: get ready to live in chaos for a while. I HATE clutter and leaving jobs unfinished but if I could tell 6 months ago me anything it’s get comfy with the chaos and find a way to make it work. There were things I had to do to the house to make it liveable: paint over the bright red and blue walls, replace the kitchen sink stat, pull-up the gross brown carpet, take down the oppressive kitchen cabinets, remove the bulky fitted wardrobe… the list went on. But doing these things have left me with bare floorboards that need sanding, walls that need a reskim, areas that need storage building. I honestly thought by spring the house would be photo ready but there is no room that is fully done and it is a while off yet. By identifying areas that are most important to you to get sorted, it will allow you to be ok with the areas that you can’t get to. I thought the lounge would be the first thing I did but actually when it came down to it it was last on the priority list and the pantry was actually my first port of call - have an organised space for me to keep my food and therefore look after myself during the madness of renovation was a game changer.


There will be non aesthetic jobs that will take your budget
I had scrutinised the report and set aside budget for the jobs that needed doing but as any home buyer will tell you, there will be things that come out the woodwork that you didn’t know about. I knew my soffits, fascias and guttering needed replacing so had budgeted for that (and my roofer was incredible and fixed extra stuff for very little extra) but the main unexpected costs for me has been the plastering. I naively thought I could remove dado rails and coving without having to replaster but absolutely not! I also need a new consumer unit for the electrics which I’m getting sorted. Other things were drainage issues at the back of the house and then there’s a debacle with how the wood burner has been installed which is all going to have to ripped out and replaced.
Be absolutely clear with your budget and check in with it
I set aside £5k for my renovation aside from the money I put aside for the roof work but it was quickly drained. Having previously had a history of debt I set out to move into this house and not take anymore debt out. But I have to address the fact that my budget has run out and I need work done that is essential to my safety: a new consumer unit, a cooker hood in the kitchen and getting the wood burner issue sorted (it’s more to do with the structural stuff rather than the burner itself). So, rather than just putting stuff on a credit card here and there and mindlessly drawing money from my account (which is when I get into trouble) I’ve had a good look at my options and have decided to get a loan - it isn’t the right solution for everyone but having taken into account every single bit off work that needs doing I would much rather borrow what I need, get the work done and pay off in one tidy monthly payment (which coincides with the loan on my van being paid off so the payment replaces that like for like).
I would highly recommend for each big cost or room renovation, work out how you’ll pay for it first and list all the things you need: from curtains to furniture. Then you can create a pot in your bank and set aside the money that will cover everything - no little payments on a. card here or there that add up to a total that you can’t afford at the end of the month. Be conscious and realistic.

Budget 5 times more than you thought for paint
I thought I had set enough aside for paint with a budget of £500. Honestly, it didn't even scratch the surface. By the time you have taken into account all the different surfaces and rooms you’ll be paying out a lot more for paint than you thought. As a guide I would budget around £300 per room for paint - I needed two large tins of emulsion for my walls and ceiling, a pot of UPVC paint for the window, two pots of furniture paint for door trims, a pot of floorboard paint and a pot of furniture paint for my chest of drawers.
It’s worth noting that is you’re doing a colour drench Lick do paint that paint every surface so while it might be a premium paint you’ll save on different paints and it will generate less waste.
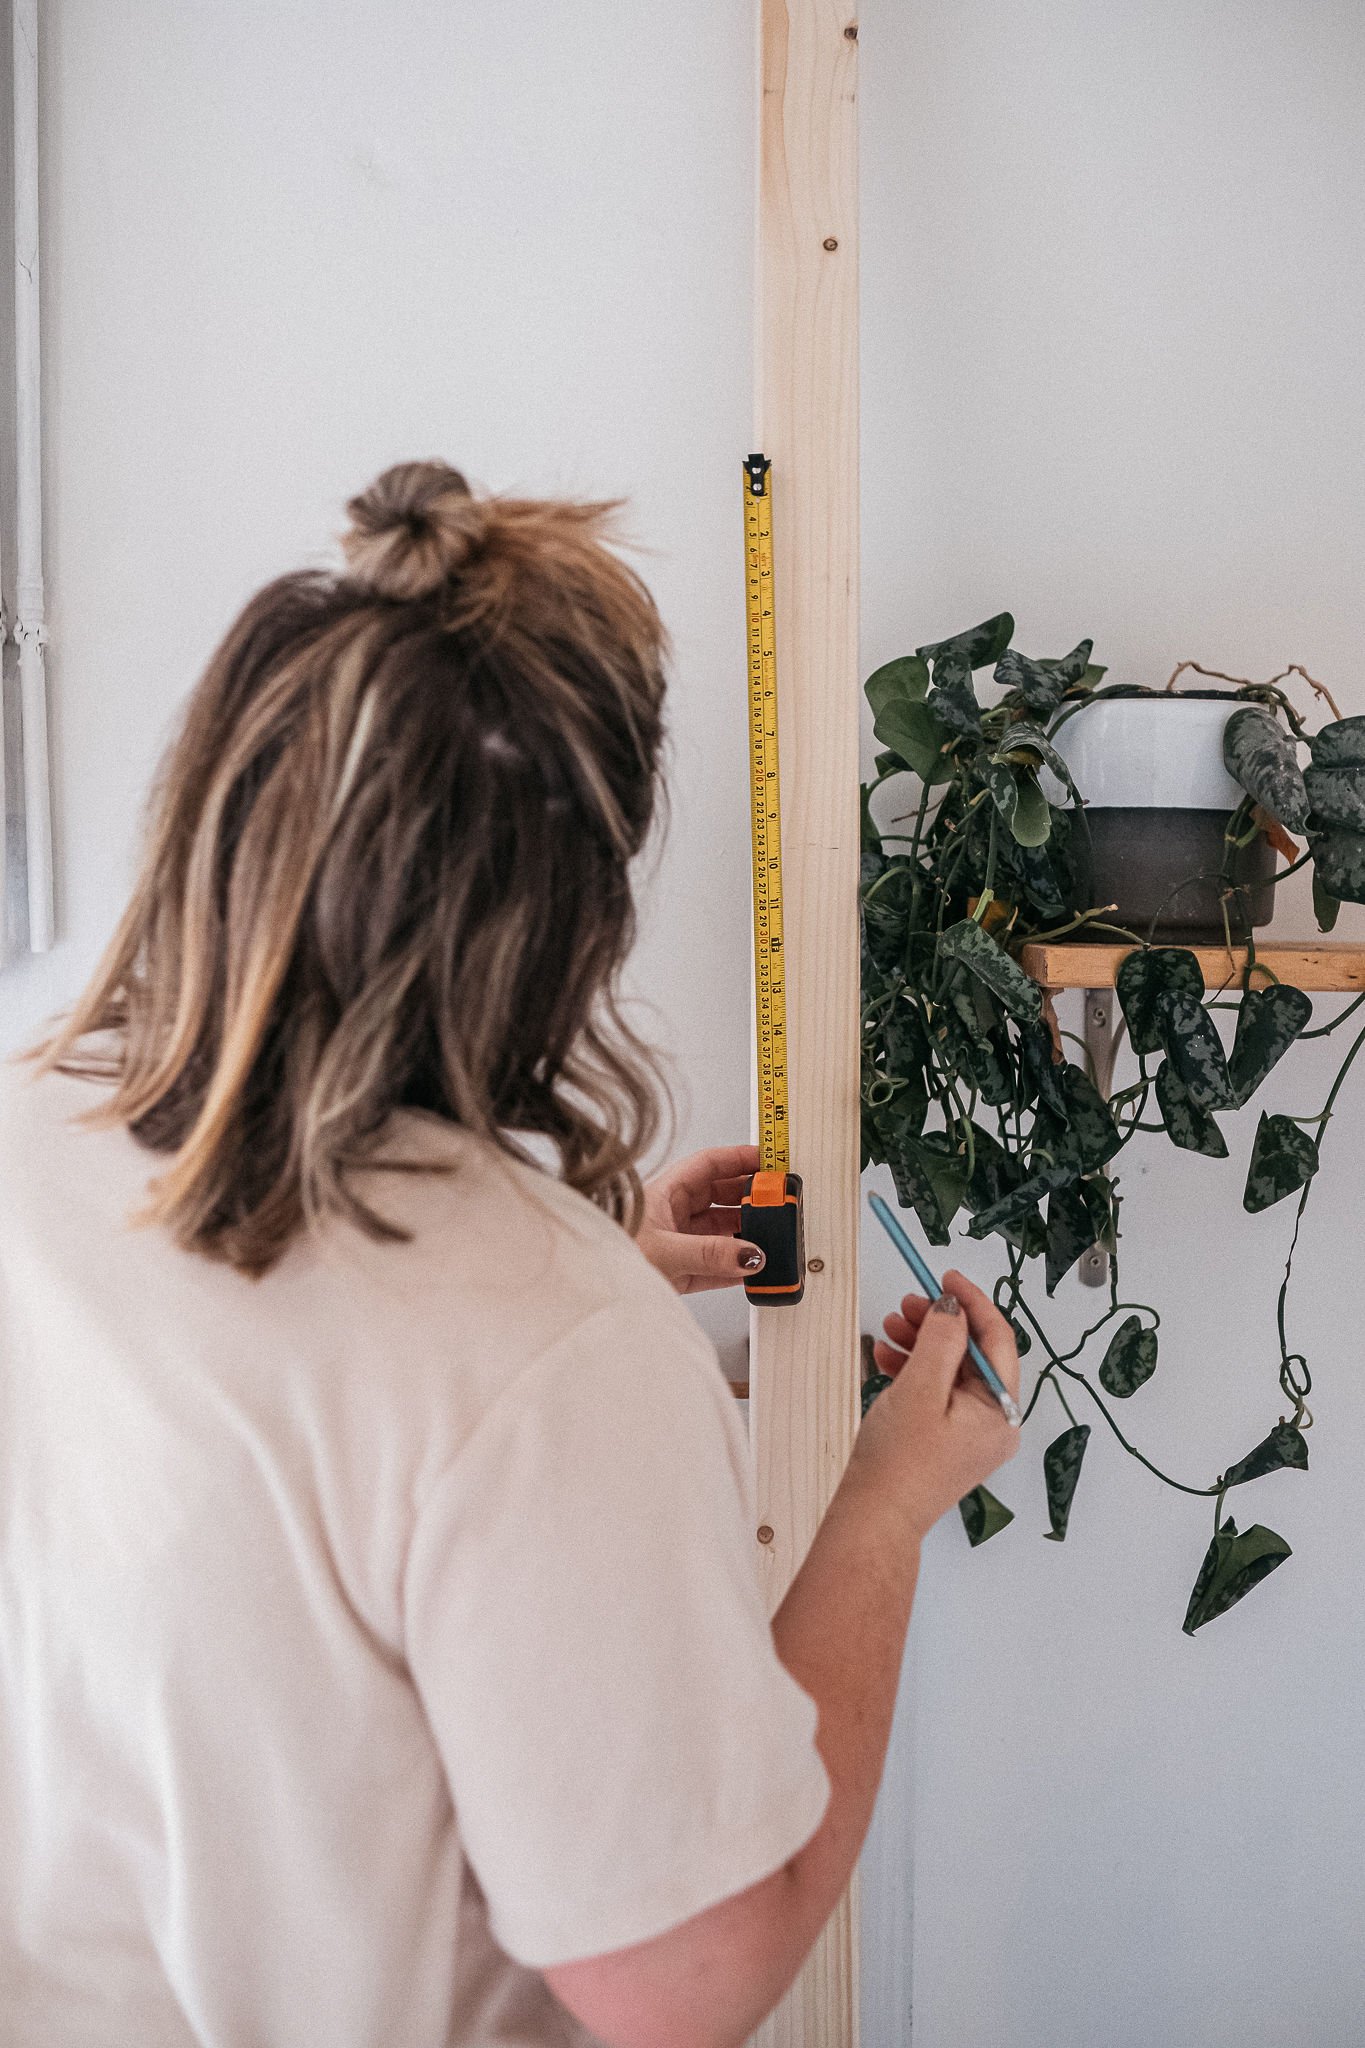
They are just skills you don’t have yet
I know not everyone has a mind that naturally problem solves. My brain is pig headed and likes to know everything, so I’m more than happy to roll my sleeves up and get to the nitty gritty of learning on the job. I tend to obsess about a project once I start and will think about it on the dog walk in the morning and by the time I get home I’m ready to get stuck in. What I’ve realised is that nothing is an unknown - everything in a house has a system and once you get to grips to what that system is then you can get your head around it. As an example: when it came to taking down the stud wall I watched a video on the construction of a stud wall and learned the layers. Once I knew how it was constructed I was able to take it apart - starting with the skirting, removing the plasterboard (a messy, messy job!) and deconstructing the studs.


But there is also a wealth of information out there for free - it blows my mind how many people give their time to share on YouTube and these videos can be so useful. I always make a point of leaving a comment to say thanks.
That said, there are always occasions when it’s time to call a professional: anything gas or electrical or specialist work like a plasterer - it’s always worth the money to pay someone who has the skills. Weigh up the time it would take you to learn how to do a job (taking into accounts mistakes) along with the cost of the tools and you’ll sometimes find it makes absolutely no sense to try and do it yourself.

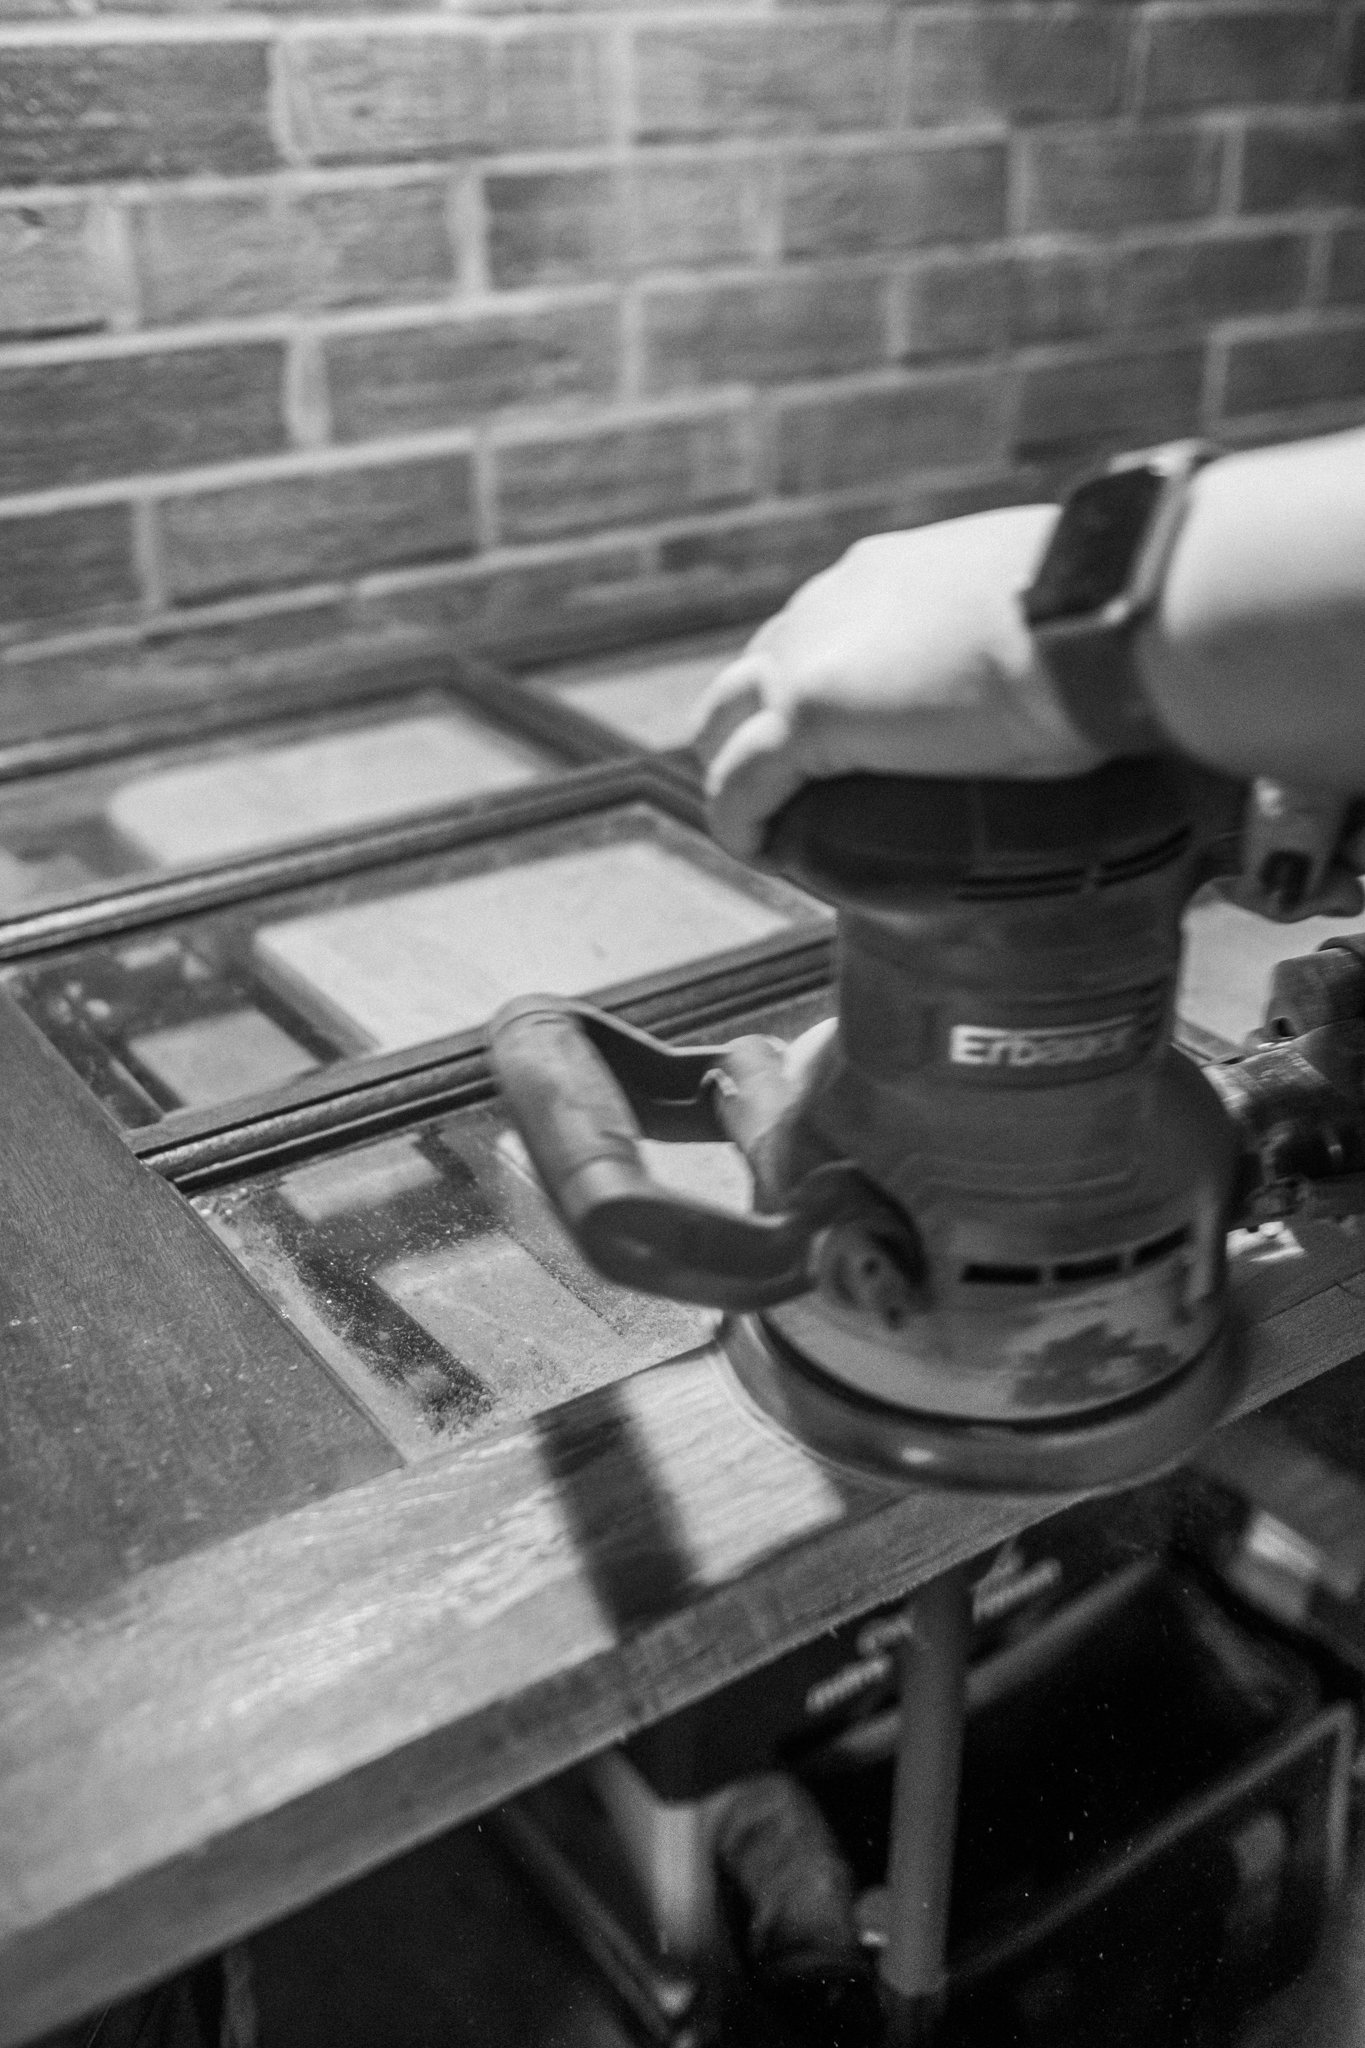
The tools matter
If I was talking about photography I would be saying the opposite to this but in DIY the right tools really do make a difference. As an example, I had a cheap sander that I was using for everything that I bought from the golden middle aisles of Aldi and I thought it was fine until I bought myself a fancy orbital sander and my mind was blown. I just thought the rough texture I got on my kitchen worktop was due to me being careless in the direction I was sanding. Turns out the right sander will give you a flawless finish.
I’m not saying for a minute to go out and buy a load of pro tools - but there are ways and means of getting your hands on the right tools for the job. Borrow off family members or friends, use tool hire places or the Next Door app. I’ve borrowed wallpaper steamers, tile cutters, saws, masonry drills, decorating poles and I’ll be hiring as belt sander for my floorboards. It does make a huge difference.
Work room by room
Don’t try and juggle renovating a whole house. Get the areas that need urgent attention done and then decide on a room that you’re going to start with. Honestly, the more time you can leave between moving in and starting renovating a room the better - you learn how you use the room, what the light does, that trendy decor you liked suddenly seems less attractive and the colour you decided on doesn't compliment any off your favourite artwork that you wanted in that room. Some of my plans for this house are still the same from my original mood boards but others are wildly different so I was glad for some bedding in time.
Gather up the things you want in the room and order samples of colours and textures and really start visualising a room before slapping the paint up. When juggling multiple rooms, overwhelm can set in and you can make misjudged decisions and by focusing on one space you can incorporate the things you love and have a timeless space you won’t quickly grow tired of.


Don’t ‘wing it’
Don’t be tempted to ‘wing it’ - for each project find out the recommended process and be careful what steps you skip. As an example when I pulled up the nasty laminate in the bathroom I had some LVT (luxury vinyl tiles) to put down and thought as it was a small space I could get away with just laying it on the floorboards. Big mistake (huge). Every time I go into the bathroom the floor makes a sticky noise and it looks really unsightly where it’s unlevel. I’m really hoping that I can use the wallpaper steamer to soften the adhesive and pull up the tiles so I can lay a ply subfloor and do the job properly without having to order new tiles. But if I can’t I’ll have to replace the tiles which is both wasteful and costly.
In a similar vein, don’t always go for the cheapest option - you will no doubt end up wanting to redo it anyway which is wasteful and costs you more in the long run. Buy the brass towel rail you really really want - you’ll never get the vibe you love with a cheaper knock off.
It will be one of the most satisfying things you’ll ever do
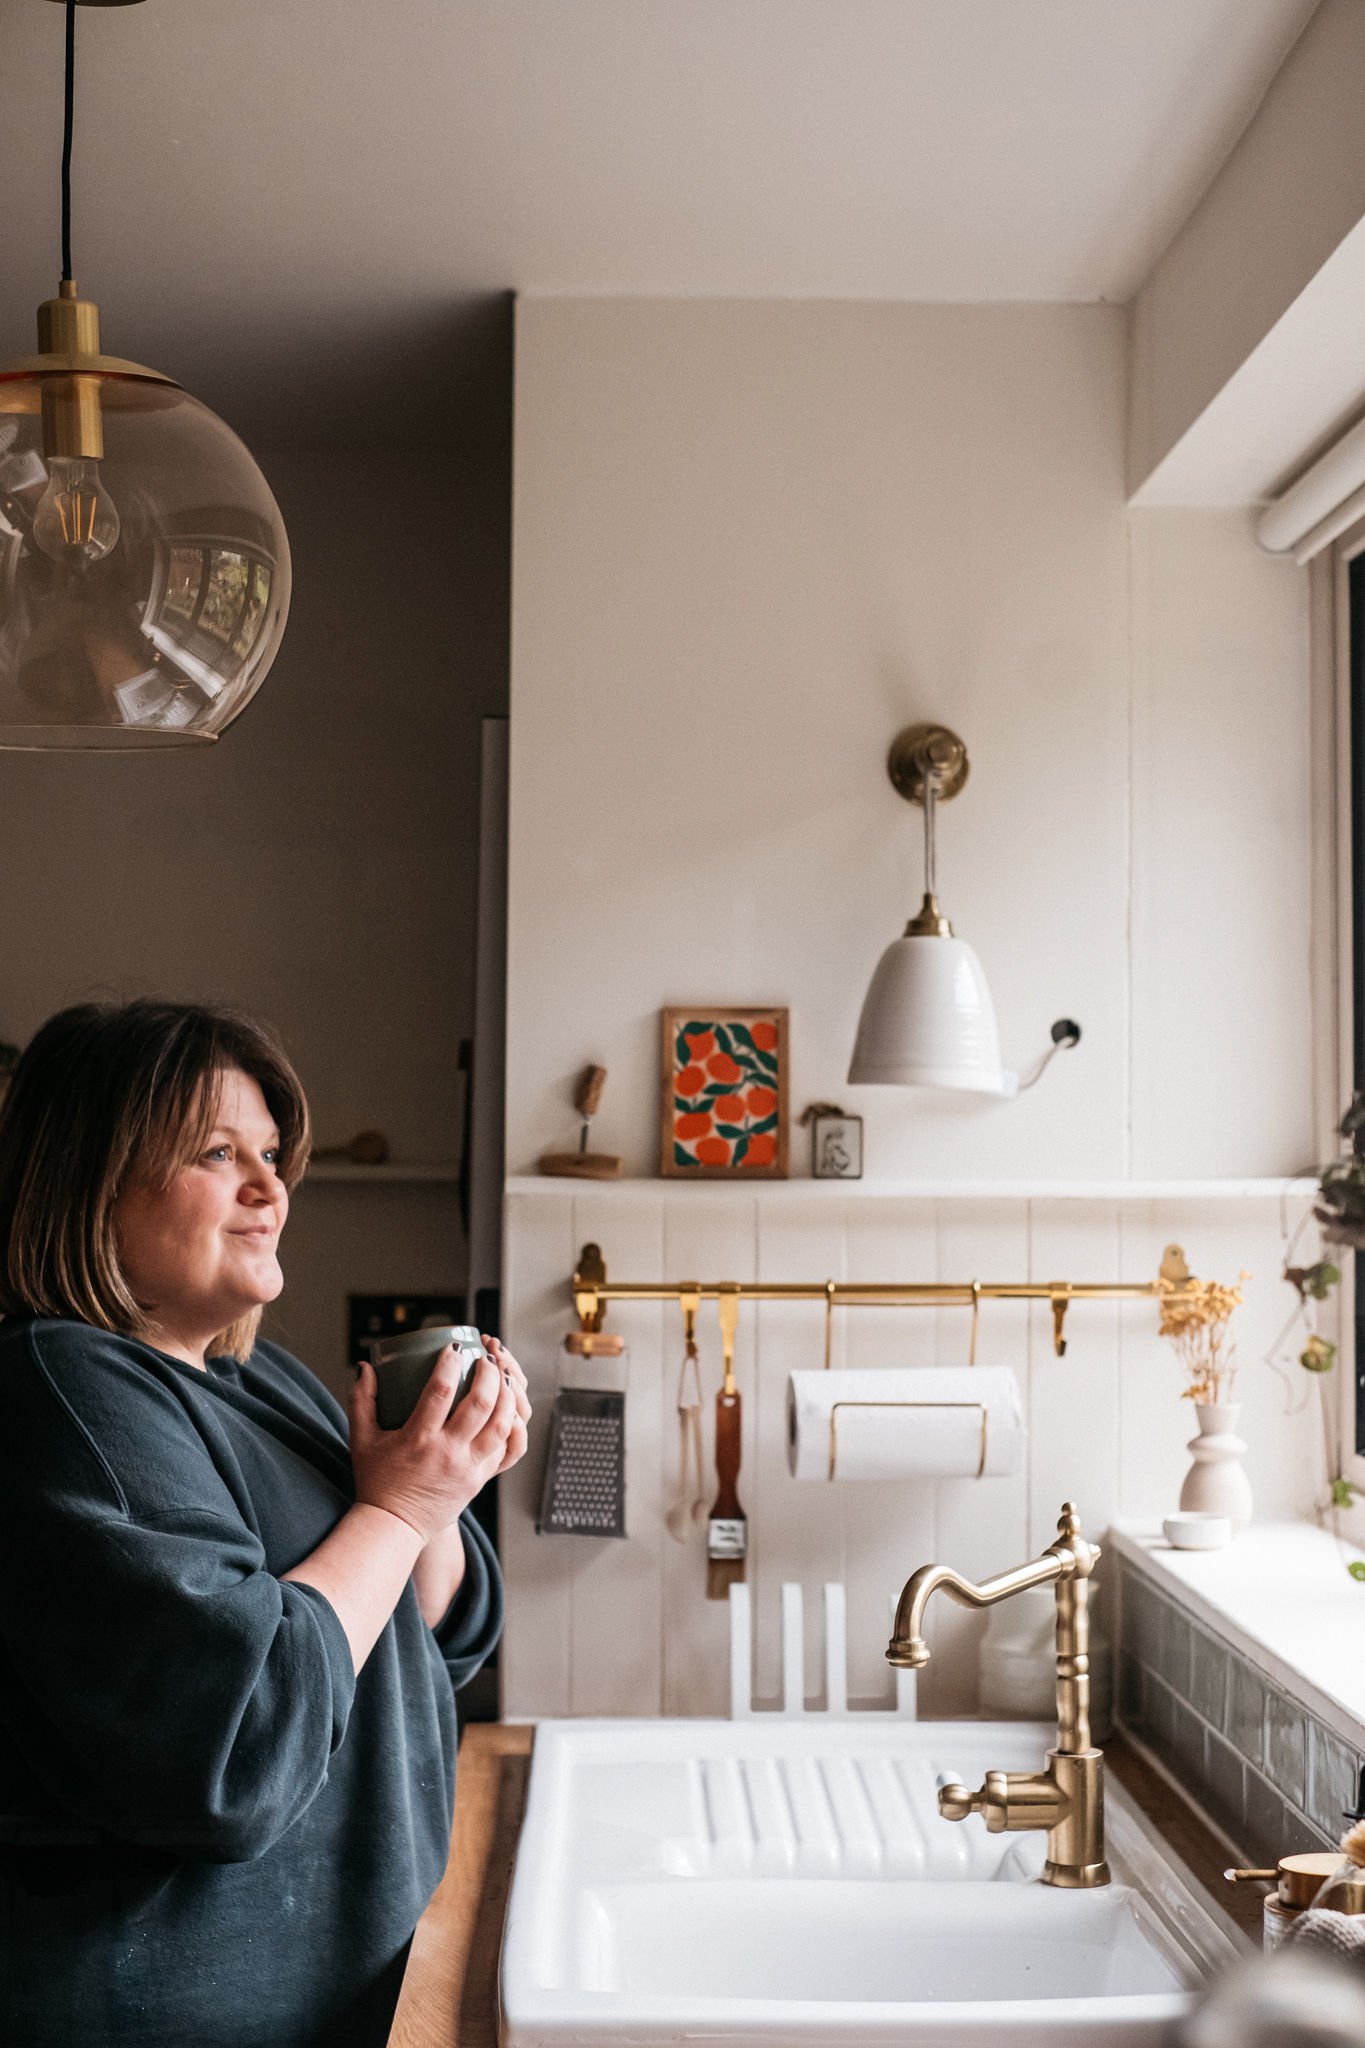
Honestly, filling a kettle from a tap you fitted is one of the best things. Learning how your house works and knowing you can fix a leak if you need to is the kinda self sufficiency that is empowering.
Do you have any questions or tips about renovating yourself? Feel free to add to the comments below.

Sharing is caring, if you enjoyed this post or you’ll find it useful in future save to Pinterest by hovering over the top left corner of the image.

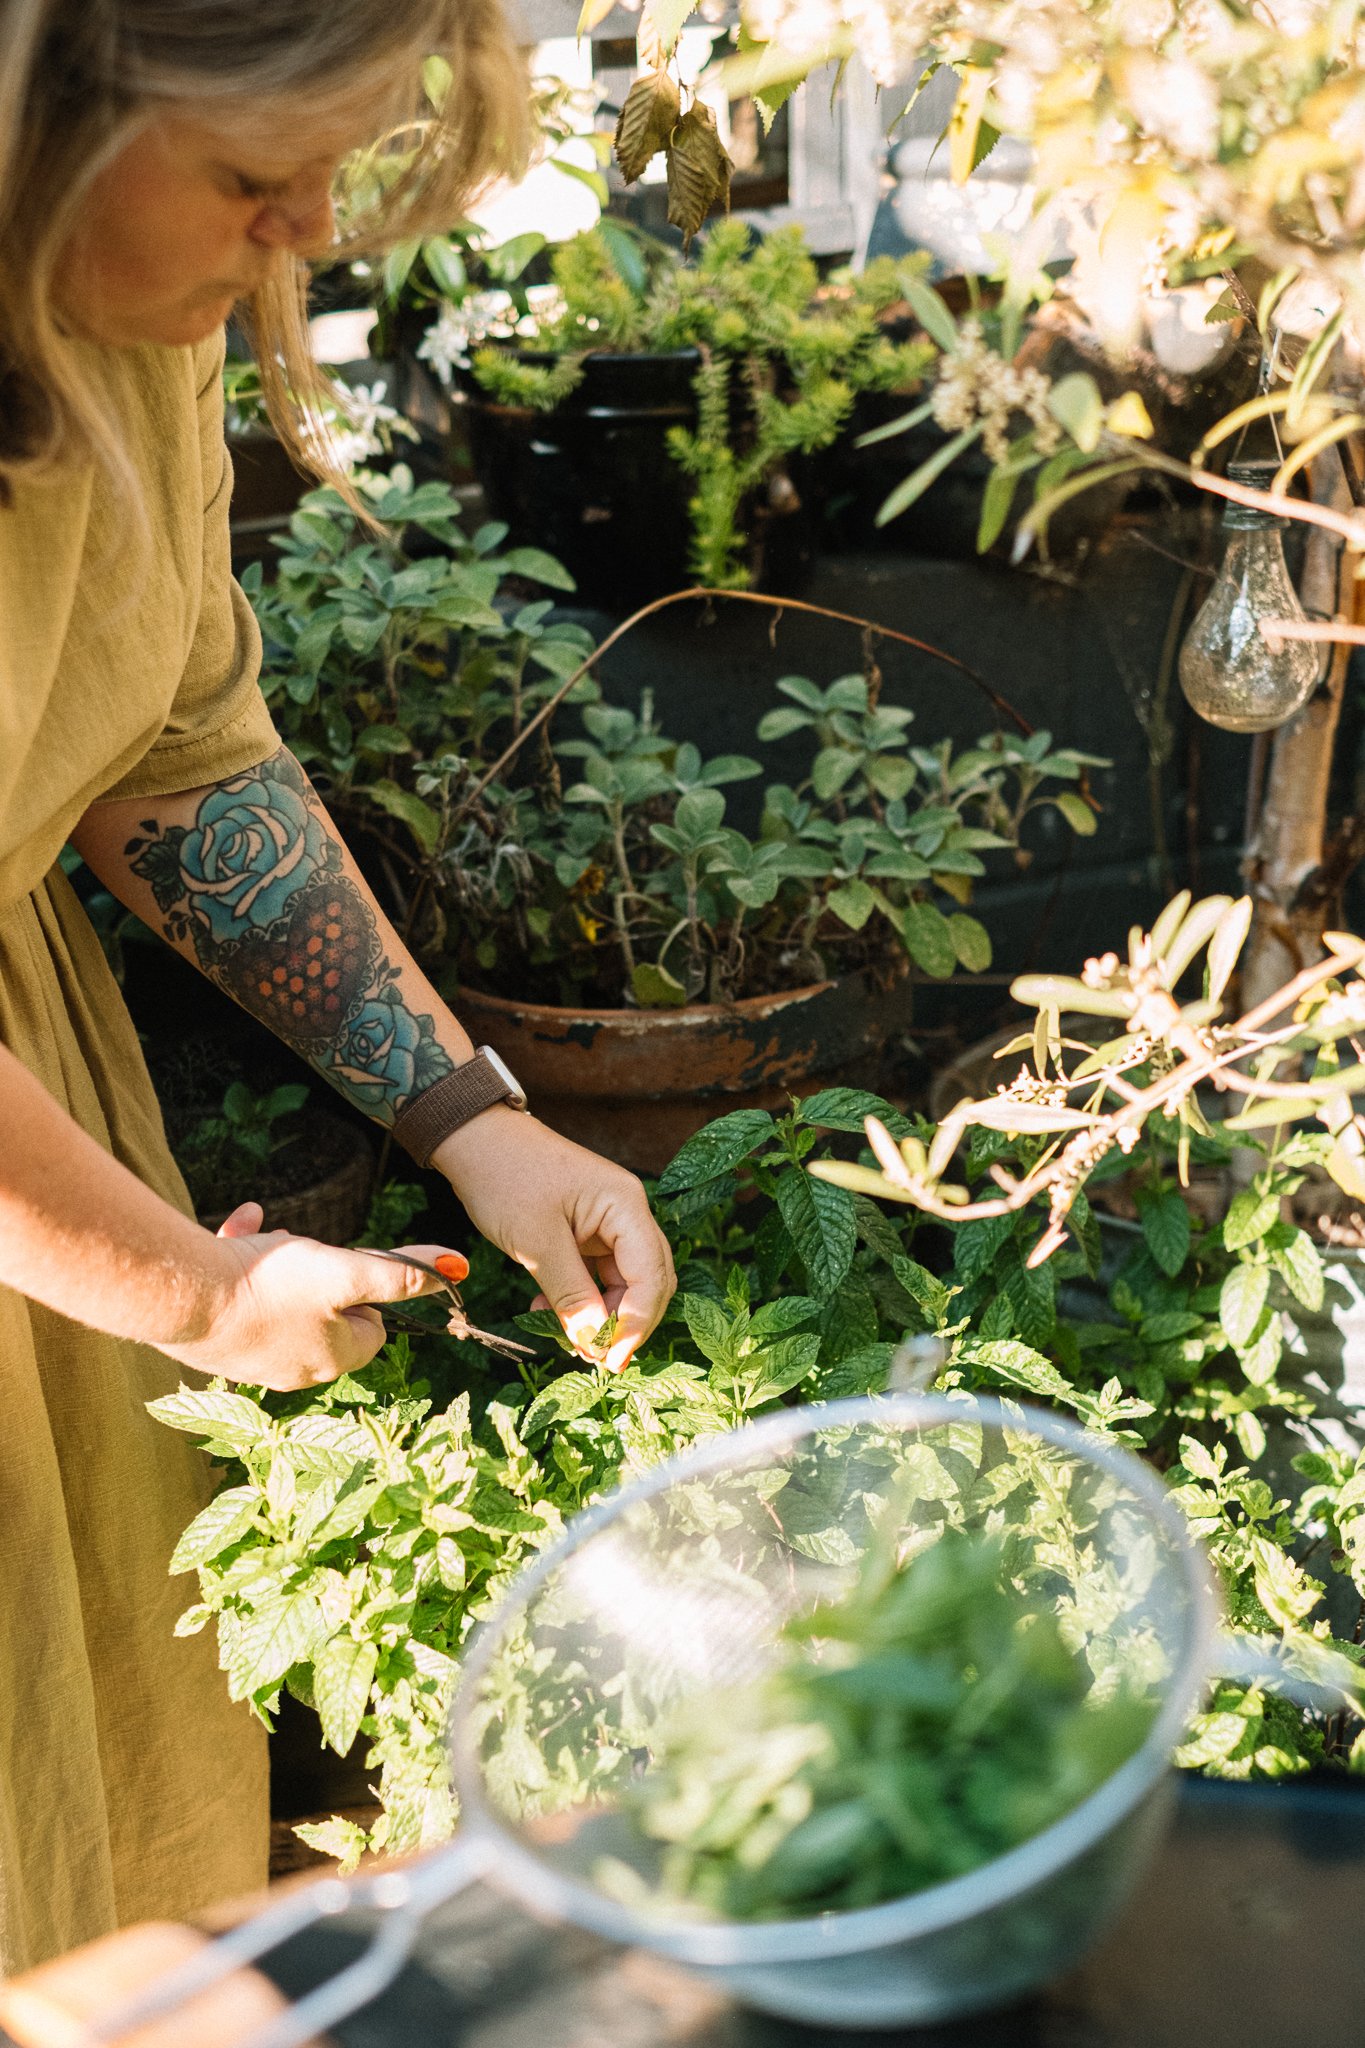


How to create a wildlife friendly garden on little to no budget.